Once the silk worms are full grown it is time to think about allowing them to cocoon. At this point I usually separate the ones I plan to keep for breeding and put them in a larger container that is set up for breeding.
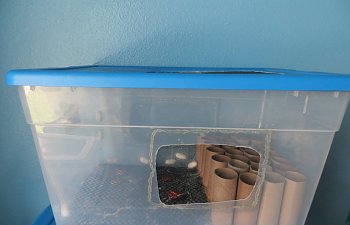
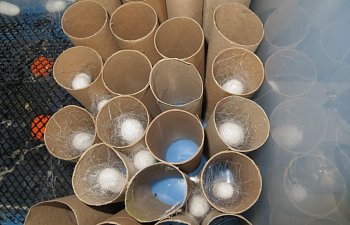
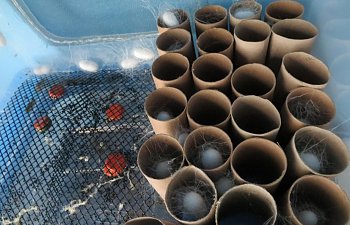
For this stage I use a sterilite 56Qt (53L) plastic tub. I have cut holes in the side and top and hot glued screen as it is used for silkworm breeding and other purposes. I place some gutter guard on one side and toilet paper rolls on the other. I put food on the gutter guard side so that the worms can continue to eat until they are ready to cocoon. Most migrate over to the rolls to cocoon, while others will cocoon just about anywhere.


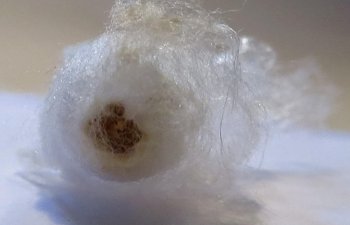
Once the silk worm begins spinning you must leave it alone. The worm only has a limited amount of silk and if disturbed during the spinning process it may not recover.
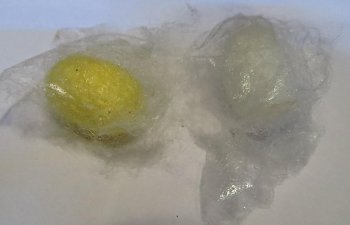
You may also find the rare yellow cocoon. Do not be alarmed as this is normal. I have read that all silk worm cocoons are yellow in the wild. It is due to selective breeding that they are now white.

It has been written that moving the cocoons is trouble; however I have moved them every time and not had any issues. I usually wait about a week after they spin cocoons to move them. I gather up all of the cocoons, very carefully, and place them in a new container that is lined with paper towels. I place the cocoons in a circle around the edge of the container and wait for moths to hatch.
Moths will hatch within about 2 weeks, give or take. Just prior to coming out you can see one end of the cocoon becoming wet as the moth squirts cocoonase on the silk to dissolve the cocoon. Once the moth has emerged you will see a hole at the end of the cocoon.

For moth breeding and egg information see part 3.
Click here for Part 3
For this stage I use a sterilite 56Qt (53L) plastic tub. I have cut holes in the side and top and hot glued screen as it is used for silkworm breeding and other purposes. I place some gutter guard on one side and toilet paper rolls on the other. I put food on the gutter guard side so that the worms can continue to eat until they are ready to cocoon. Most migrate over to the rolls to cocoon, while others will cocoon just about anywhere.
Once the silk worm begins spinning you must leave it alone. The worm only has a limited amount of silk and if disturbed during the spinning process it may not recover.
You may also find the rare yellow cocoon. Do not be alarmed as this is normal. I have read that all silk worm cocoons are yellow in the wild. It is due to selective breeding that they are now white.
It has been written that moving the cocoons is trouble; however I have moved them every time and not had any issues. I usually wait about a week after they spin cocoons to move them. I gather up all of the cocoons, very carefully, and place them in a new container that is lined with paper towels. I place the cocoons in a circle around the edge of the container and wait for moths to hatch.
Moths will hatch within about 2 weeks, give or take. Just prior to coming out you can see one end of the cocoon becoming wet as the moth squirts cocoonase on the silk to dissolve the cocoon. Once the moth has emerged you will see a hole at the end of the cocoon.
For moth breeding and egg information see part 3.
Click here for Part 3
