Step One

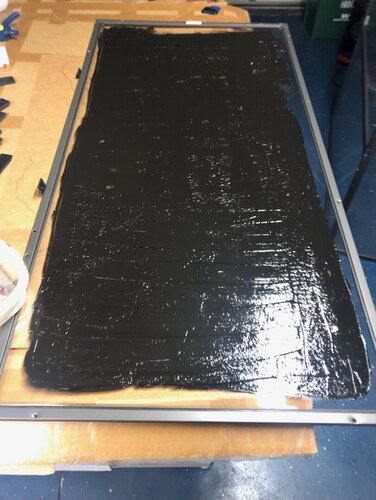
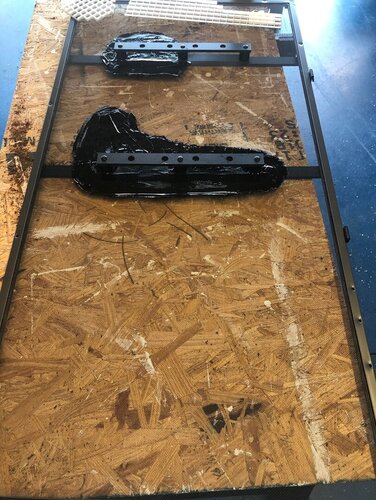
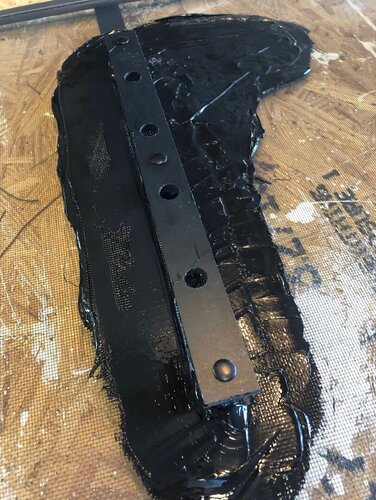
The first step we covered 1 side panel with black silicone. This step was only necessary for us due to the placement of the cage in our reptile room. This cage will have it's side facing 2 other cages, so instead of doing a moveable barrier I didn't want to have to worry about that and instead we just covered it with silicone. Don't worry, that's not how it will look in the end. Maybe this wasn't the smartest move, but what's done is done, right? The next step that we do is to figure out where we want pots for plants, and the Dragon Ledges. We attached the Dragon Ledges, then placed silicone around them for a more natural look. This is shown in the 2nd and 3rd pictures below. 7FC6B3A5-9C46-4B3D-84CA-5455A91E136D.JPG 82DF61DD-CBB7-415D-BB12-653A1003761D.JPG FCD337C3-4ACD-4CF0-AD28-C4B44F21C0A3.JPG

Comments

There are no comments to display.

Blog entry information

Author
absolutbill
Views
706
Last update

More entries in General

More entries from absolutbill

  • Step Seven
    This is another shot of the pots as well as more grapevine that is foamed in. After the cage is...
  • Step Six
    On the back we are placing 4 pots. I use the 8" plastic pots and foam them into place. My plants...
  • Step Five
    These are the 2 back panels of the cage. We only work on 1 side panel, or the 2 back panels at a...
  • Step Four
    Carve down any bumps you don't like and add some foam to any holes (foam is cheaper than...
  • Step Three
    We like adding grapevine directly into the expanding foam for extra stability. Again, zip tie...

Share this entry

Back
Top Bottom