KrinsCham
Member
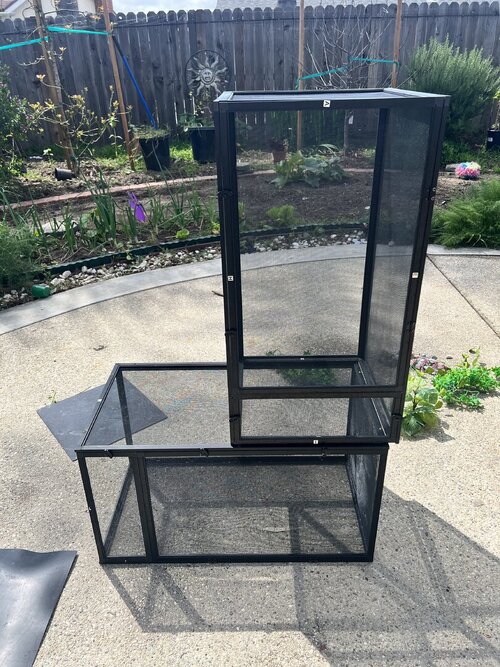
Wondering if anyone has combined three 16”x16”x30” zoo med screen enclosures? This would make an enclosure that measures 30” wide x 16” deep x 46”tall.
This would not be sitting on the ground, it pile be off the ground about 18-24”, putting his basking spots above eye level.
I recently rescued an adolescent veiled chameleon and know the standard size hen to them is 24”x24”. He came in a 16x16x30” and I was just given two more of the exact cages. I want to give him more side to side space so I can have multiple tall plants and basking spots.
Picture is missing one cage as that is current home, but this is the idea.
Thoughts ? Suggestions?


 It’s much easier than it looks and sounds.