Trying to improve the reptarium

Jordan

New Member
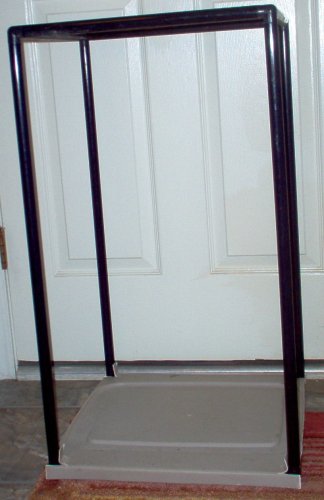
Well I will be redoing the bottom. I just wanted to mess around with this one in my garage. This one has a curve downwards but the raises right back up in the middle. I saw one when I went out to Wal Mart tonight but forgot my wallet (looked perfect for this but I guess I will find out). This one slopes down and then is just straight. I think I will plumb in a drain dead center. I will have to cut the mesh but depending on what kind of piping I use I think I can tighten it down from the bottom, by this I hope to overlap the hole. With the bottom I am going to install I figure that paper towels would do a descent job. I want to do this with 175 gallon reptarium so I figured I would find out how to go about it with the extra 38 gallon.

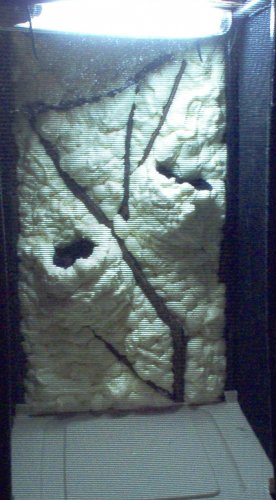
I cut an extremely thin peice of wood I found extra in my mother's garage. This was the base for the back wall to be constructed on. As it has been sitting for two days this was the fist test fit. I need to cut some of the foam off that is interferring with the framing from resting completely flat against the back wall. Also needs to be covered with silicone and peat moss. I actually have some decorative moss (for like crafts or to simply cover soil on a pot). I am curious if could mix some patches of this in with the peat moss to add some color to the back wall? Not sure if any of you guys have did that or if it is safe? The same thin wood was used on the top so that the flourescent light could be mounted on the inside. Drilled holes but only secured the wood with wire ties for the time being. When complete I am going to use some clamps that will wrap around the reptarium framing and secure with one hole. I was thinking about using nuts and bolts. Once installed rubbing silicone over them to smooth them out so they do not hang on the mesh when time to clean.

im000501.jpg im000503.jpg

Any suggestions, thoughts, input or comments?
 
Last edited:
Jordan, that back wall looks awesome! I always end up making my planter pots too small. Cutting the foam is a pain; dremels work great, but the dust is phenomenal.

I didn't use silicone for most of my enclosures; I mixed a glue called Weldbond with water, peat moss and coconut hull (bed-a-beast). I think the moss would work fine. If it's really decorative (like from a hobby store) make sure it doesn't have paint...but I'm sure you knew that. I have used silicone to patch holes in the walls, and then stuck long leaf sphagnum moss into it to cover up the silicone. I figure it holds some moisture that way, too.
 
Well I was hoping the moss would be okay. No, it is not painted or anything like that.

The pots on the back wall are kind of small. I really just wanted to throw some spider plants in them. I should have the backwall done today. I should have the different drain pan in tonight but may wait tell next week to try to figure out how to plumb it.
 
if you take your moss and put it in a old blender with a spreading medium like thik cream you can maximize your moss amounts just blend and take a paint brush and spread it on.
 
i am familiar with that method of getting moss to grow on rocks or statuary in your garden....but in a terrarium/enclosure, it would sour quickly and probably grow mold. I think somebody on one of the frog forums tried it and that was the result...
 
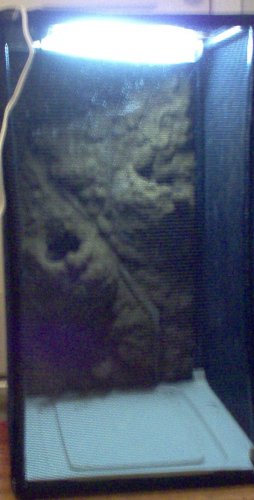
Well I got the back wall over with. I tried and tried and the moss just looked like crap when I did it so I removed it. Oh well maybe next time.

im000504b.jpg

Plastic lid I got still will not work like I want. Decided to take the deep plastic storage bin and cut it to size. Have not really had any time to mess with it during the day and the garage is to cold for me at night.
 
It was a peice of wood, perhaps, 1/8". Each one of the reptarium poles had a diameter of 3/4". The cage itself was 16.5"x30". To get it in there nicely with no interferance with the mesh I cut it to 15 1/4"x 28 3/4". I shoot some holes for wire ties very close to the edge. The way the foam expanded you can not even see them from the front. I have started something for my lady. Just can not get enough free time when it is warm enough to do the back wall in the garage. I will try to get some pictures of her bottom design as it turned out very well, better then I expected.
 
Well I did my females cage. Just left out the back wall all together for her.

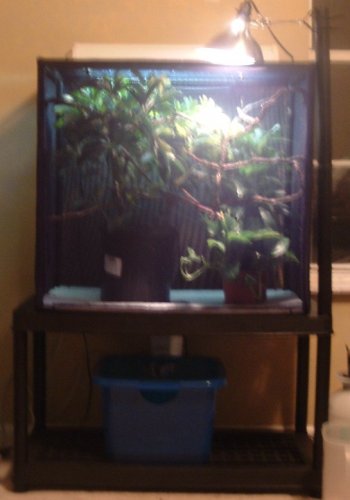
Picture of the whole cage and stand.
reptarium 001.jpg

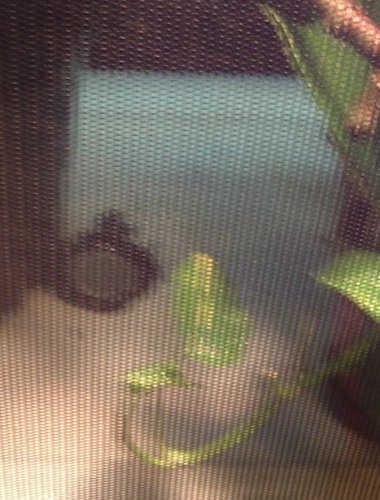
A crappy picture of the drain. Now during final assembly I managed to slightly crack the top part of the plastic. I did not go all the way through. I did smear some silicone over it to try to keep it from becoming a problem later on. I will get a better picture another time. Already put her through alot and did not want to do any more for a bit. I did have to cut through the reptarium mesh. I only had to snipe through 5 rows to get the pipe through. The mesh can still be washed but I will do it in the dish machine instead of the washing machine.
reptarium 002.jpg

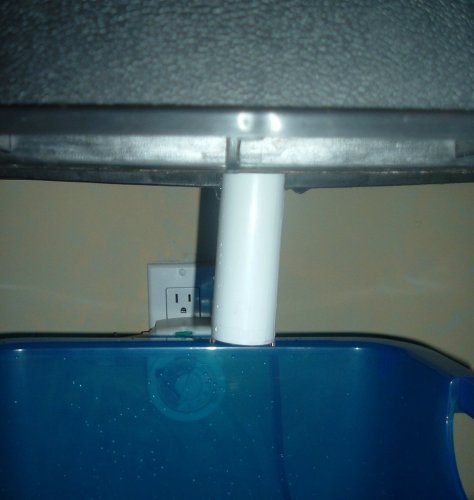
The vent pipe into the catch bucket. I did have to hacksaw off part of the shelve. Only took a couple minutes to do that. Wow did that plastic smell funny while I was sawing it.
reptarium 003.jpg

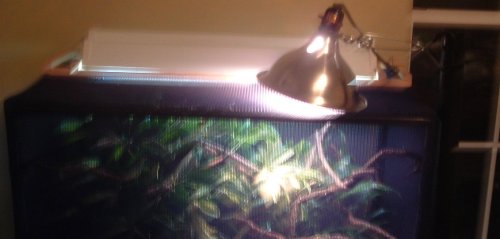
Since she has minimual space with the 65 gallon I did put the lights on the outside. A double flourescent ballist. One 8.0 Repti-Glo and the other light a Flora-Glo to help the plants. In the dome 100w incandescent. The cage just glows from the other side of the room. She is shy so I kept the plant placement more up front for her to hide about.
reptarium 004.jpg

Orginally I wanted to go with two schefferella abricola in the cage. After putting both of them in there I decided it was over kill. I used one, along with a bamboo and pothos. Pothos is on the ground for the time being once it gets some more size I will move it to a bracket I have along the back wall. I also left out the egg bucket because I repotted the other schefferella and realized I did not have another pot.

The basking area is at 88-92* from a couple different angles. The ambient is 78-85* on opposite sides of the cage. The humidity has stayed at 58% for the day when dried out. More importantly she likes it very well.
 
Back
Top Bottom