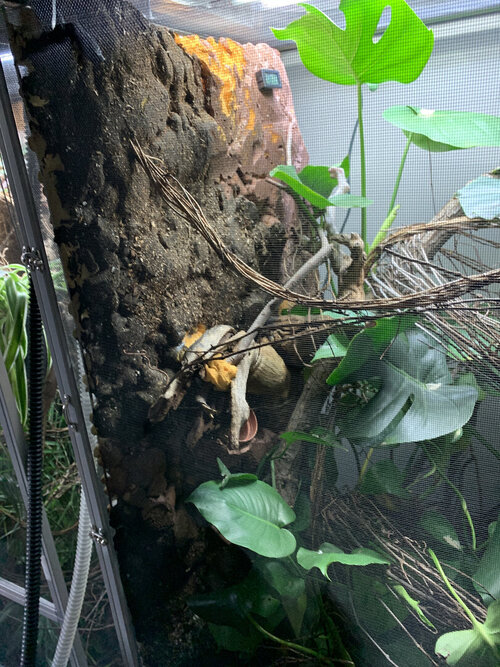
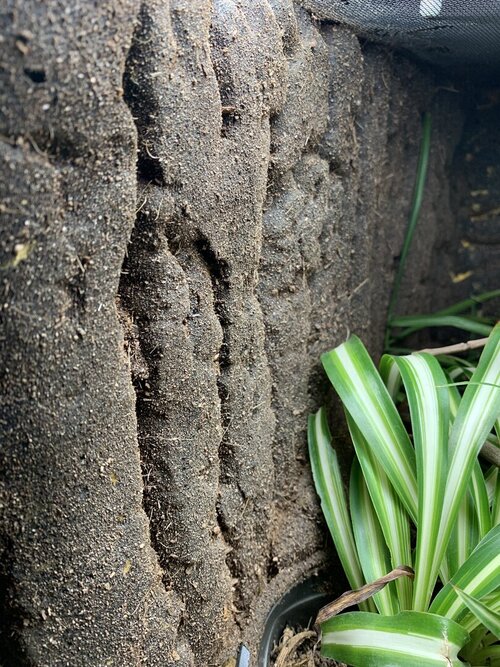
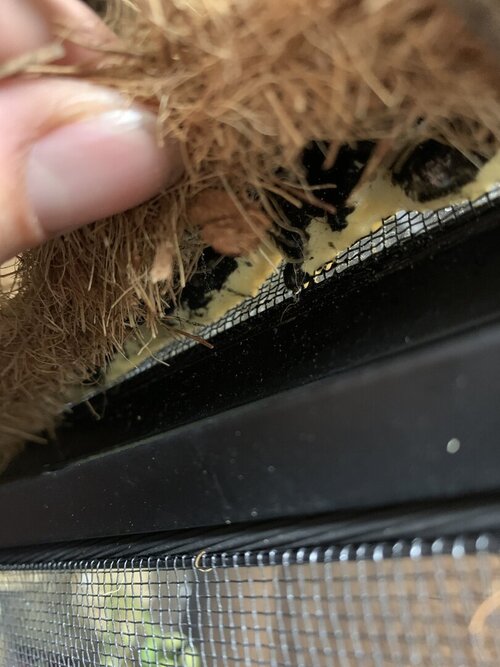
about to go in a a new build / living wall

The shims work great under the trays... One thing I wish I would have done was figured out how to affix them to the drainage tray on the back side. I had just placed them all along the back edge of the pan. I have had to shift cages and they pop out :( So mine are all flat again lol
I'm sure I'll have extra silicone. My stand is a very basic old end table with the dragon stand I don't mind drilling but this seems like way less work fortunately it's got the clearance to allow a bucket for collecting. I'm doing some sketches and trying to plan the placement out best. I spoke with a friend who is an an engineer and diy person he said his only concern was mounting the wall into the frame and cutting the light diffuser without compromising it it seems frail and rigid so I may need to torch off a section to allow the lights Access.
That led to another worry
What's the best way to attach this to my enclosure / frame. I overlooked that I'm using a 2*2*4 zoomed and have dragon ledges is there a good thread on mounting the living wall ?
@JoXie411 has done a ton of these and is really good at them maybe she could give you some info.
 
Last edited:
That led to another worry
What's the best way to attach this to my enclosure / frame. I overlooked that I'm using a 2*2*4 zoomed and have dragon ledges is there a good thread on mounting the living wall ?
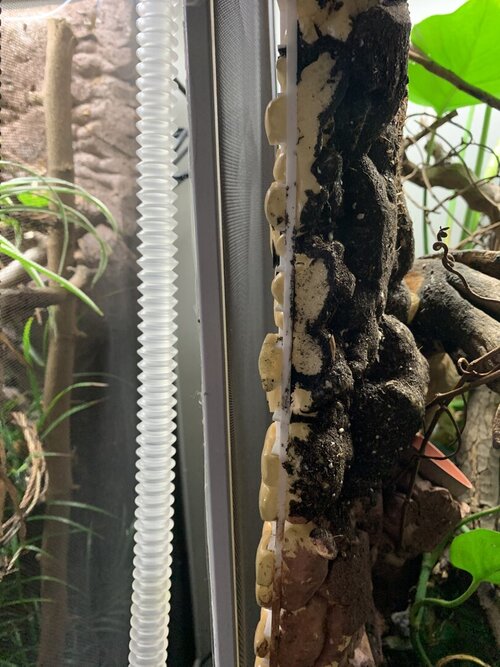
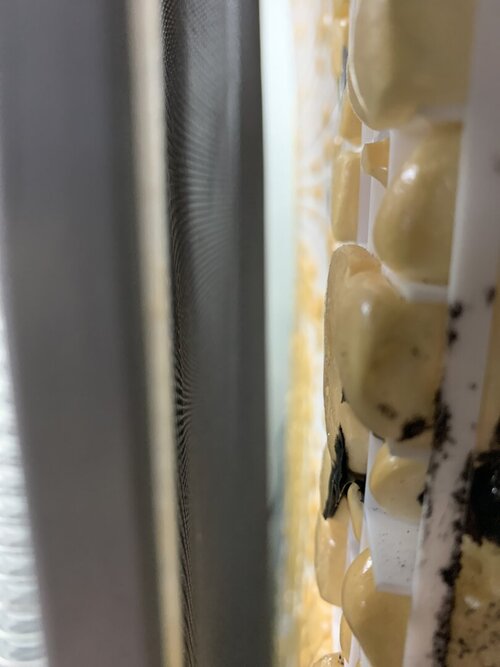
So I’ve had lots of different ways of mounting my walls. Once I did a egg crate for light panels and just trimmed it down to size it fit very sung at first but over time a problem did happen. The wall began to warp after 6 months, it still looks fine but I notice it lol
image.jpg image.jpg image.jpg

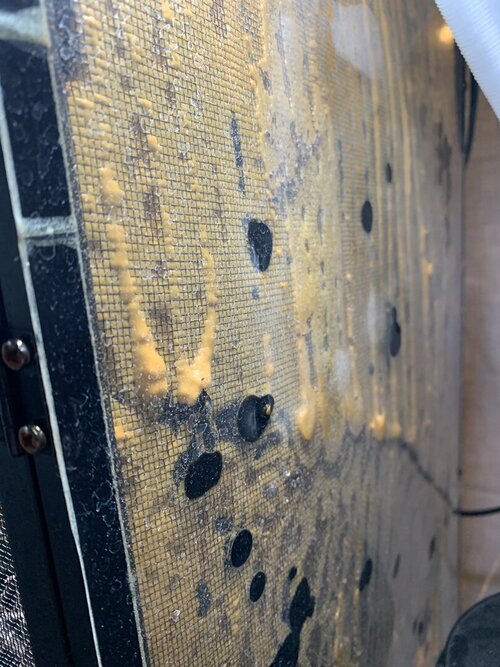
the second was on the the screen completely, this has to be my fave so far due to it not warping or falling off the screen
image.jpg image.jpg image.jpg

the third is stupid and I don’t recommend and I don’t want to say lol.
 
I have the egg crate and dragon ledges also sent a pm thank you so much @Beman and @JoXie411 thankfully time is on my side with this one. I care more about the finished product than getting it done as my dude has a 2*2*4 set up already with his needs met this is his gift 🎁 and the old enclosure will be a summer home for outsider that I hope to convert into the planter box version that was shared on the chameleon academy.
 
I have the egg crate and dragon ledges also sent a pm thank you so much @Beman and @JoXie411 thankfully time is on my side with this one. I care more about the finished product than getting it done as my dude has a 2*2*4 set up already with his needs met this is his gift 🎁 and the old enclosure will be a summer home for outsider that I hope to convert into the planter box version that was shared on the chameleon academy.
Oh nice, I also made a planter box version of the same one. It was my first time doing something like this. Happy I didn’t loose a finger lol
 

Attachments

  • C849656E-400B-42F3-8535-3C85D503A6DE.jpeg
    C849656E-400B-42F3-8535-3C85D503A6DE.jpeg
    185.8 KB · Views: 107
Oh nice, I also made a planter box version of the same one. It was my first time doing something like this. Happy I didn’t loose a finger lol
I have some experience with tools and building but lack any real tools to do big projects but I've definitely gotten better at work work and carpentery. I built two pergolas / shade structures over the summer and they came out good patience is a virtue and I'm trying to remember that. Always a good job when you end with 10 fingers in tact !
 
If I were to build the cage then silicone the light diffuser (plastic grid) into the frame (had an idea to cut it in half and have the plastic sit and adhear to the top of the ledge to keep it flush to the screen / wall so it doesn't sage off) Anyone seeing issues with that idea a hybrid of the light diffuser and direct screen application? Open to input going to make coffee and start building the retibreeze xl I guess
 
I built a custom Viv and covered it with peat over brown caulk, be careful about the fumes. I actually got sick for a day after doing this.
I'll be working outdoors for most of the project thankfully I'm out west and am not dealing with a harsh winter. The g.e. s1 is smelly but it let's you know once it's cures cause it stops smelling the place up.
 
Spent the morning putting the cage together before work and putzed around Cut out some of the light diffuser and installed dragon ledges on the cage today after seeing the images from @JoXie411 I decided to cut out a portion of the diffuser to fit around the ledge and sit flush on the frame. I can silicone it in place to the ledge and the frame to ensure no warping or coming off the wall. This put my mind at ease until I started messing with the branches again... These are too amazing I could change it 100 times and like them idk if I want to cut them to plug into the wall and use as I need or keep them together and make a tree of sorts as they do configure beautifully together
 

Attachments

  • PXL_20210215_232122373.jpg
    PXL_20210215_232122373.jpg
    222.3 KB · Views: 109
  • PXL_20210215_232549536.jpg
    PXL_20210215_232549536.jpg
    292.5 KB · Views: 109
  • PXL_20210215_232608677.jpg
    PXL_20210215_232608677.jpg
    238.8 KB · Views: 121
  • PXL_20210215_232805357.jpg
    PXL_20210215_232805357.jpg
    227.5 KB · Views: 110
  • PXL_20210215_232813418.jpg
    PXL_20210215_232813418.jpg
    286.6 KB · Views: 111
  • PXL_20210215_232824093.jpg
    PXL_20210215_232824093.jpg
    257.9 KB · Views: 109
i have a list of my plants that I hope to add not counting air plants which ima go ham on
2 variety of croton
1 massive tiger stripped bromeliad
4 variety of smaller bromeliads
2 maidenhair fern
1 mini baby Schefflera 1 grown amate about 3 ft tall
2-3 dracaena
snake plant
spider plant
pothos and lots of it
two nerve plant
1 medium monstra
lots of moss and Spanish moss
 
Last edited:
Playing with layouts before I great stuff I'm torn between these two styles I want to keep the center minimal so I can add airplants and moss and allow basking and keep the walls as green and lush as possible. The back will will be great stuffed with several plants in it so the lay out has to allow space for a planter where that big box is ... The dragon ledge is there as well so I figure use it for support. Option one vs option two. Putting up supports on the dragon ledges and calling it a day before work. I'd like bother but are opposite styles but I like them both and am curious what pros or cons you can see from these options. This is the skelton so I want it to be solid
 

Attachments

  • PXL_20210216_222911210.jpg
    PXL_20210216_222911210.jpg
    246.5 KB · Views: 109
  • PXL_20210216_223227320.jpg
    PXL_20210216_223227320.jpg
    265.3 KB · Views: 109
Playing with layouts before I great stuff I'm torn between these two styles I want to keep the center minimal so I can add airplants and moss and allow basking and keep the walls as green and lush as possible. The back will will be great stuffed with several plants in it so the lay out has to allow space for a planter where that big box is ... The dragon ledge is there as well so I figure use it for support. Option one vs option two. Putting up supports on the dragon ledges and calling it a day before work. I'd like bother but are opposite styles but I like them both and am curious what pros or cons you can see from these options. This is the skelton so I want it to be solid
Have you tried use one branch upside down so you cham has a thicker branch to bask on?? Not sure what it would look like tho. Just an idea 😊
 
Playing with layouts before I great stuff I'm torn between these two styles I want to keep the center minimal so I can add airplants and moss and allow basking and keep the walls as green and lush as possible. The back will will be great stuffed with several plants in it so the lay out has to allow space for a planter where that big box is ... The dragon ledge is there as well so I figure use it for support. Option one vs option two. Putting up supports on the dragon ledges and calling it a day before work. I'd like bother but are opposite styles but I like them both and am curious what pros or cons you can see from these options. This is the skelton so I want it to be solid
Option one is at the screen and has more straight up branches, while option two has more horizontal options with a clear basking area. It all depends on how far away you’ll mount your lights and how’ll you plant your cage. While you definitely can’t go wrong with either of them, I do personally prefer option two.
 
I have changed my mind on where to put plants.its easy to forget that you can add onto the walls using the ledges. After a few re calculations and trying to keep lighting needs in mind I've come up up with this. I have a lipstick plant and pothos that I hope to put in the top area of the wall separated by a bromeliad. Under this I am installing a led under cabinet puck to help illuminate the area the is shaded out by this huge plant bubble. A natural canopy would allow some light to pass I noticed my current enclosure is dark in the lower part even with a quad and a dome so I'm going to be adding a 70w sansi led. This will add light to an area underneath with bromeliads and nerve plants as well as a really leggy drac. I have three of these all are odd shapes so I'll use whatever works. This area will be full of moss and air plants and I feel this is "my " part of the enclosure. I'm going to be adding ferns and other plants for hiding spots and lots of moss lots lot of moss.

I chose option 2 from the previous post the ol horizontal perches were too perfect to pass up on ... So Ive got the nice branch network kinda planned and out to fit and allow max clearance for the foam.

The bottom is still a question . I have bought irrigation tubing and drainage tubing and will run everything out the back since I'm already slicing it up to put in the extra LEDs.

I have a 42 inch schf amate I could prune down and put in or I bought two smaller arbicola that would need some time to grow in which is fine as well. I hope to put that on the lower right hand side and make a fake mount out of rubber hose and foam to give depth and more area to place planters this idea hit me while my blood sugar was low drinking a juice box watching my chameleon snacking on bsfl. I keep a bare bottom what's the harm in shelving out the bottom to give more planter 🚀🌌. Not sure if it will work I'll re evaluate once my blood glucose is back in range. .

Glad I didn't rush and have the luxury of trying some different set ups. Never grown crotons but they look great where should I plant them for best results? I've got soooo much pothos I'm tempted to make mini 1-2 inch pockets in the foam to just plug pothos starters and some moss .

Then again I do have the option to use the side screen walls with the dragon ledges for the other plants and that I can at least move.
PXL_20210217_190120721.jpg

P.s I measured the clearance for the top plants I'll put into the wall. And I was thinking about putting a fogger in as well since I'll already be working on the back
 
Last edited:
Back
Top Bottom