chascarpenter1
New Member
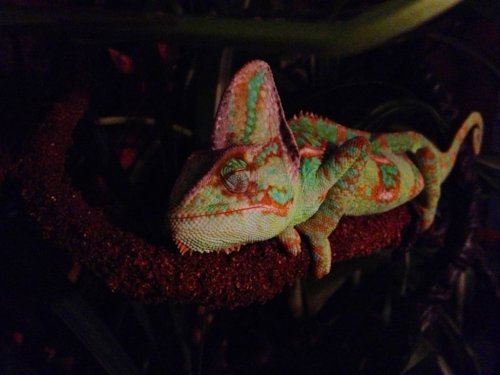
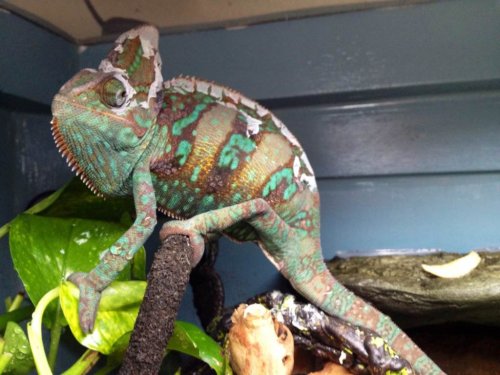
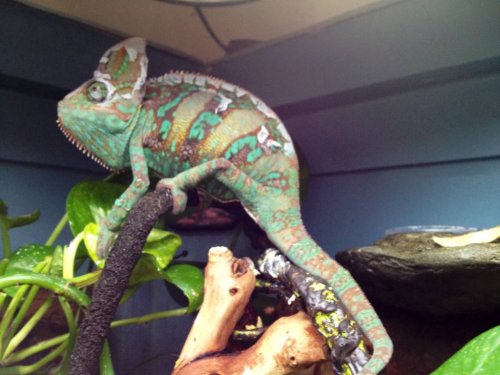
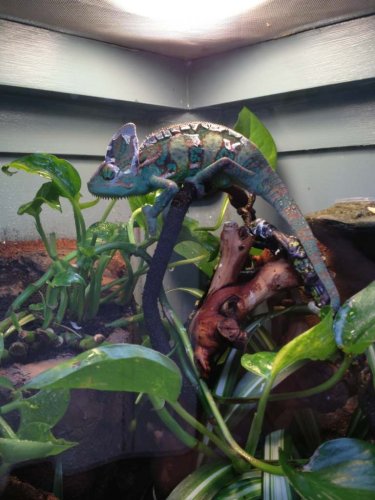
Here are some pics of a curio cabinet that I repurposed into a terrarium for my veiled, Charlie. This has been an extensive and exhausting project, but to highlight some of the features, the enclosure started out as a curio cabinet from Craig's list.
1. Sand and repaint. The inside was painted with low and no VOC paint.
2. Carve foam for faux rock background and affix pots for plants.
3. Drill out drainage and install watering and drainage tubing and pipe
4. Run wiring for lights ( exo terra dome and repzilla fluorescent)
3. Use GE II silicone to seal the inside
4. Use great stuff to make floor and coat cricket cup.
5. Carve floor and cricket cave
6. Cement floor, backing, and cricket cup
7. Water seal all cement
8. Paint faux rock, a time consuming process, and seal again
9. Install and seal all pieces
10. Test run, fix, test, fix.....
A lot of work was put into this and, like always, I learned a lot, made mistakes, but hopefully after the entire project has had ample time to cure and air out, I will be able to add plants and move Charlie to his new home.


