DIY enclosure/free range progress

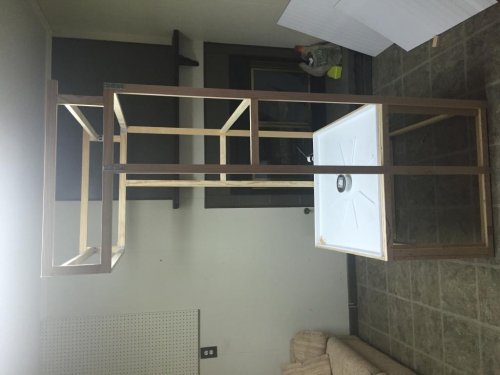
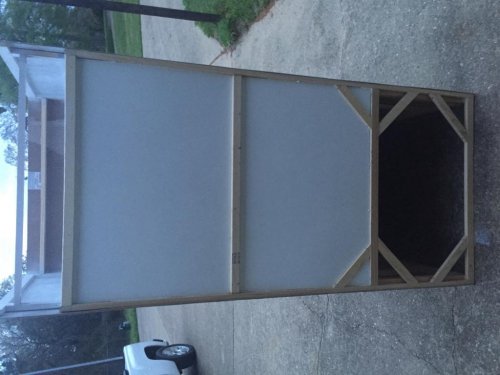
This is a larger enclosure I am currently building for my male veiled. This is just the frame of it. I will be adding white panel that will cover the bottom, top and partially cover the left and right sides. Stained trim will give it a nice, clean look. will be making 3 screened sections that will be able to be removed individually instead of just a single door in the front. I opted for this so if I want I can remove all sides and allow him to get out and about if he wants. All lighting will be completely enclosed so he cannot get burnt. I will be able to roll the entire enclosure as well. By just unplugging one plug I can completely relocate the cage to another room, by a window, or out to the porch if needed. I will post pictures of progress later in the week.

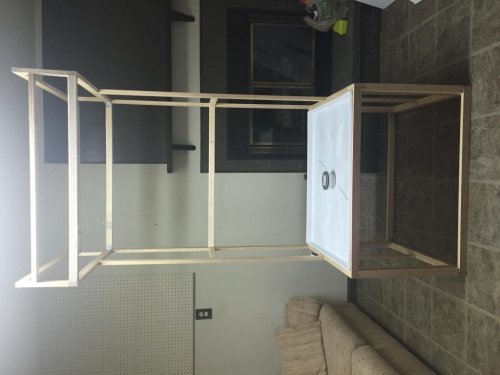
image.jpg
 
I like the shower base idea. Its going to be really nice. I'd love to have an open face enclosure like that, but there's no way my cham would stay put.
 
It's going to be screened in the front with three separate screened frames that can slide in and out and be removed. So it can be a screened enclosure when I want it to be or an open "clean looking" free range when I want it to be.
 
I am always amazed at the creativity and ingenuity on display in these forums.

This is another fine example of a great DiY enclosure. Bravo!
 
Thanks everyone for your comments. I've got some college stuff I'm trying to get through and I'll hopefully have some more progress on it by Friday.
 
Very awesome idea and having it on wheels will be convenient. Kind of like a little roller coaster, you could take him around your whole house!
 
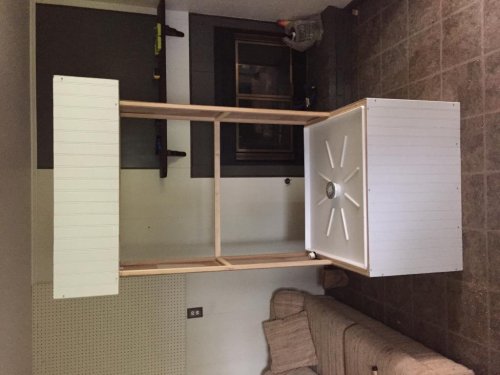
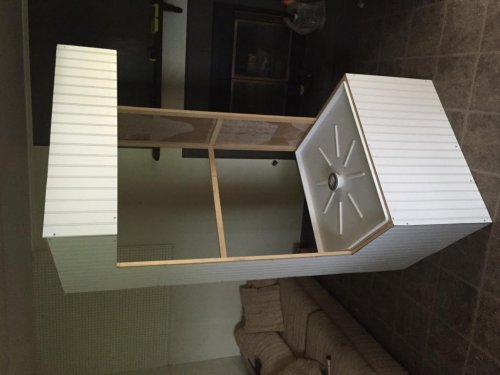
This is the progress I've made so far. I put all of the paneling on. The next step will be to add the back panel, cover the bottom drain tray with plastic and paint everything white.

image.jpg
 
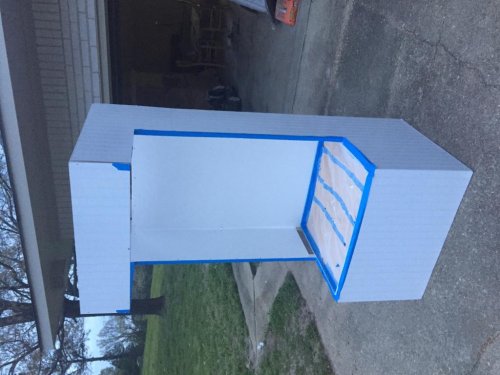
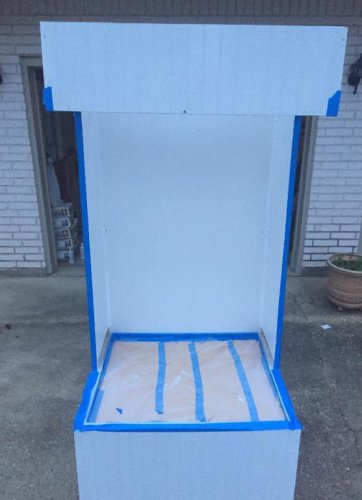
I'm sorry it has taken so long to update, but I have been quite busy lately. Since the last update I painted the entire outside with a gloss white spray paint. It is evening in the picture so you can't really see the shine, but you will in later updates. I finally got the back and sides on today. I used sheets of frp plastic panel board from lowes. It is rot resistant, waterproof, and very durable (people use this stuff in their horse trailers if that tells you anything). I caulked the corners and will let it harden over night. I will then spray paint the entire background with satin green spray paint. I'm planning on the entire background being covered with fake plants so the purpose of the green background is in case there are a few spots that can be seen through the plants. Also, I still haven't put the molding around the stand to give it a cleaner look on the edges. Here are a few pics of the progress and I apologize in advance for the poor lighting.
 
image.jpg

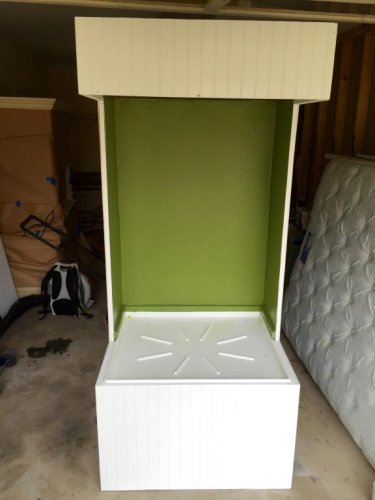
I siliconed all of the edges and painted the background green. Then I sprayed all of the surrounding wood with a product called Never Wet. It's a two step spray that makes most surfaces repel water. Next I'll be applying the bottom boards to sit my reservoir bucket for my mist king and my drain bucket. Will also be putting the wheels on as well.
 
Back
Top Bottom