Habitat 4.0 DIY

ispeedonthe405

Established Member
72"/182 cm H x 48"/122 cm W x 24"/61 cm D. It's made primarily of aluminum square tube, and held together with brazing, bolting, bracing, and nylon insert connectors. Six casters are fitted to the bottom.

The lower shelf is a slab of nice .70" birch ply with a rubber mat over it. The lower sides and back are also birch ply but thinner. It makes a sturdy platform, even when the casters aren't locked. For the upper, exterior walls I have 1/8" sheets of textured black ABS. You can kind of see the rear panels sticking up over the edge; they need to be trimmed.

The rear interior walls are EPS foam board covered with peat moss. People often use silicone for that but I prefer non-toxic wood glue. I'll be adding more to those walls when I get to that point.


The cage floor is a 1/4"/6mm sheet of ABS, which was bolted down and graded like a sink using a torch and some weight. A drain on each side and plumbing to a common bucket will be added.

 
The cage floor is a 1/4"/6mm sheet of ABS, which was bolted down and graded like a sink using a torch and some weight.
You do the most interesting builds. How did you keep the torch from scorching the ABS? I've been toying with the idea of doing something similar with heated sand.
 
Heated sand sounds like a smart way to go. The ABS will scorch on the textured side but the smooth side is harder to brown as long as you keep the torch moving.
 
Some more work done.

The back walls are somewhat decorated. I only use the Pond & Stone variety of Great Stuff because to my knowledge that's the only one explicitly labeled as safe for any kind of animal.

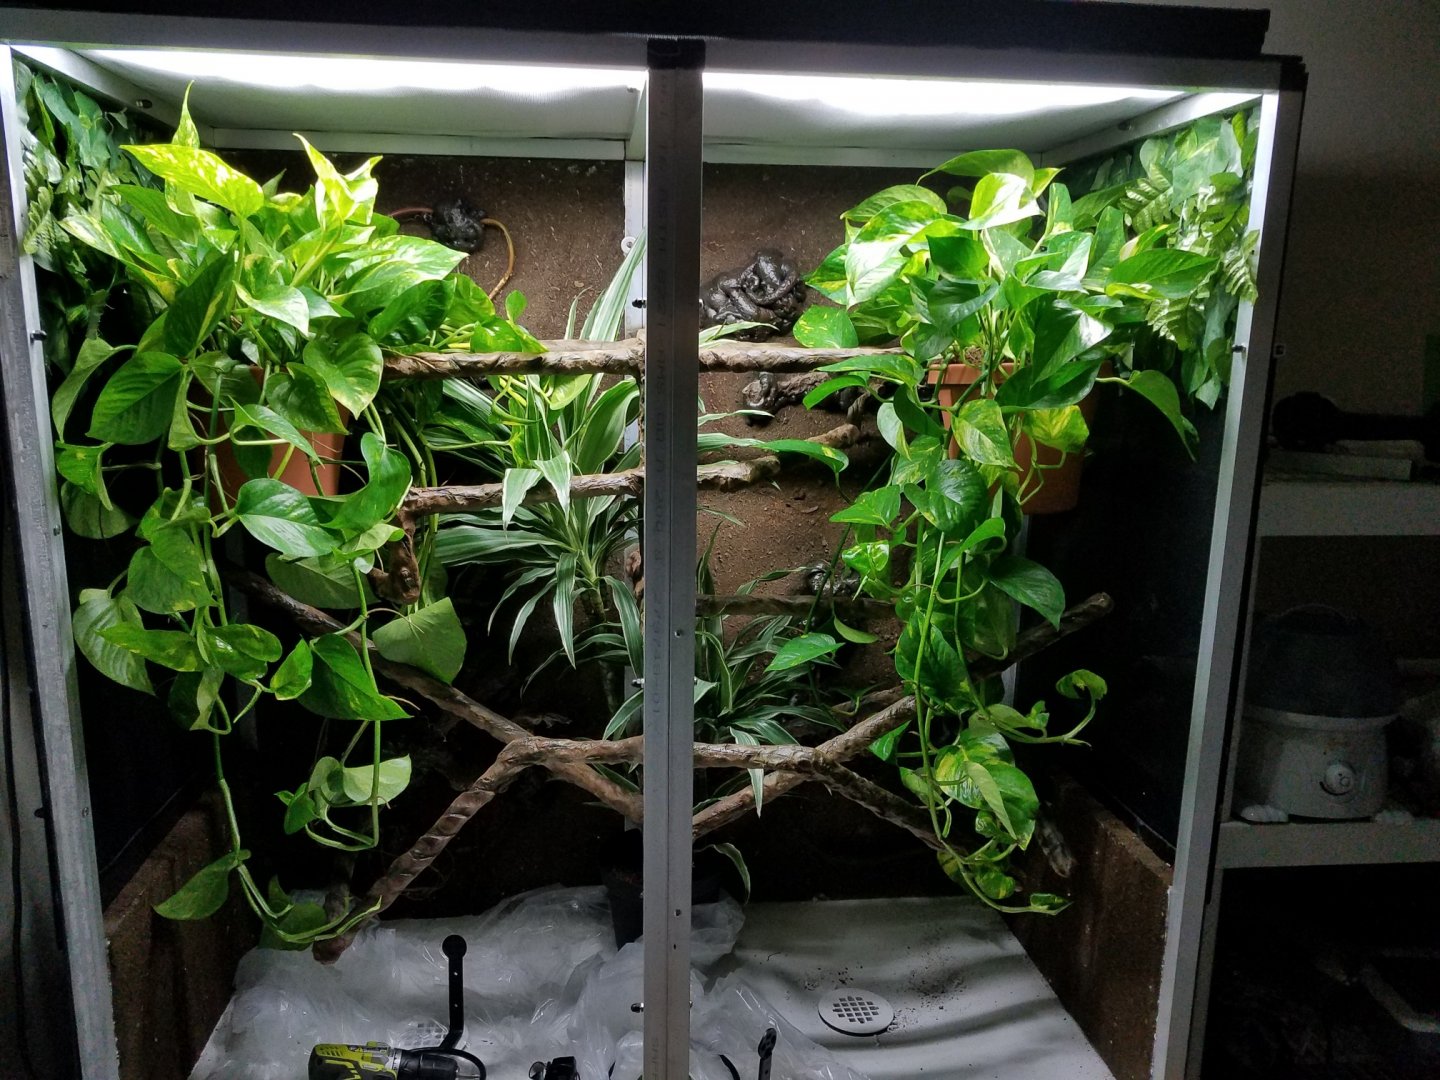
The screen top and side panels are in, putting about 24"x24" of screen on each side to go with the 24"x48" top. The piping is still being shuffled around, but this will serve as the main branch structure. Once it's covered with a layer of Habitat Flex, textured, and stained, it will look like branches. The hollow pipe also gives me conduit to run wiring to the temp/humidity sensors.

An example of before/after the tree-bark treatment:
 
Progress report: The fake branch structures are underway. Furniture-grade PVC pipe & fixtures secured with screws (rather than PVC adhesive) and covered over with the fake bark plastic.

This is messy business, at least in my hands

Instant branches. You can also see the ring-type plant hangars attached to the upper sides. A pothos will fit nicely in each.
 
That's really cool. I haven't seen that Habitat Flex stuff before but I just Googled it and it looks pretty cool, especially for a permanent enclosure where you wouldn't want to worry about replacing real wood limbs. Where did you get the furniture grade PVC? Is there any benefit to using it over say the sprinkler stuff at the hardware store since they're both going to be coated with that Habitat Flex stuff? Again, great work so far (y)
 
Where did you get the furniture grade PVC? Is there any benefit to using it over say the sprinkler stuff at the hardware store since they're both going to be coated with that Habitat Flex stuff? Again, great work so far (y)

The furniture grade is UV resistant and supposedly physically tougher than plumbing grade. Whether the former matters is debatable since it's covered now as you said. Can't really comment on the latter but that's the claim from the manufacturer. I got it straight from their site but you can also order through Home Depot. It's called Formufit.
 
Paint job on the branches. The good news is that I only have to fool a chameleon.

I used an airbrush and made up different shades of transparent brown and green as I went. After that I went over it all with the airbrush again, this time loaded mostly with a matte acrylic base mixed with airbrush medium to thin it out, and just a little brown pigment. This second pass took most of the shininess out of the transparent acrylic layers.


Next stop: plumbing.
 
Completed enough to let the occupant move in.

I bought some supposedly low-glare acrylic called P99 but it was still quite reflective. Hilts doesn't puff up and freak out over reflections but it does make him uneasy. Instead of that, I went with cheap plastic panels that are meant to cover ceiling lights. Works great, doesn't weigh very much.

Open view. The occupant is chilling out in the lower right.

Closeup of the new tennant. I knew he would like that branch.

I still want to do more interesting things with the lights and electronics but for now it's done enough to live in.
Looks great!!!:):D:)
 
Back
Top Bottom