Garrett
Chameleon Enthusiast
I Just built this from aluminium tubing purchased from www.estoconnectors.com
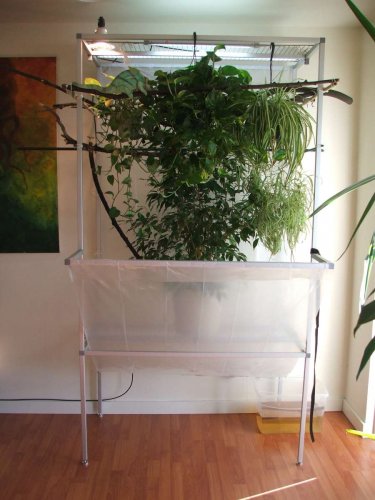
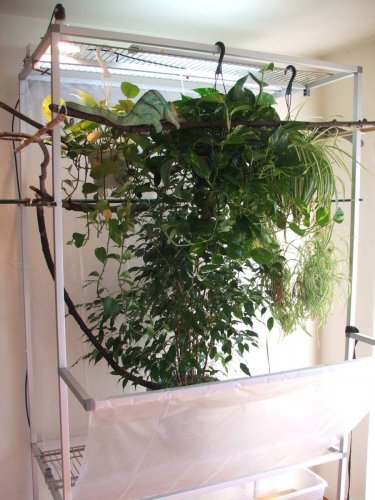
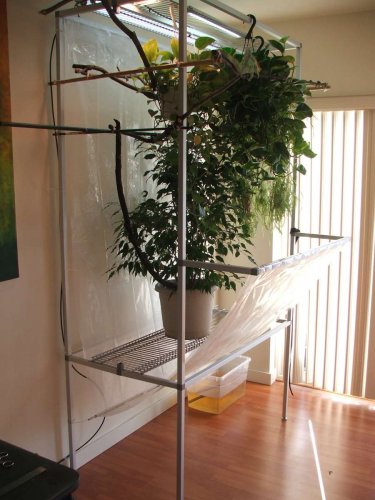
Housing large chameleons in small spaces is a real challenge. I live in an apartment and have struggled with giant monkey looking cages with water getting all over the floor for years. They're a pia to build, put together and waterproof. I finally decided to just build something that would be large enough, easy to put together\take down, and was easy to clean with no drainage issues. It meausures 7.5' tall, 4' wide and about 2.5 deep. It's just a large frame with plastic sheeting wrapped around the back and front creating a giant catch basin. The water drains down a weighted tube into a bucket on the floor. I could run misters 24/7 if i wanted to with no leaks.
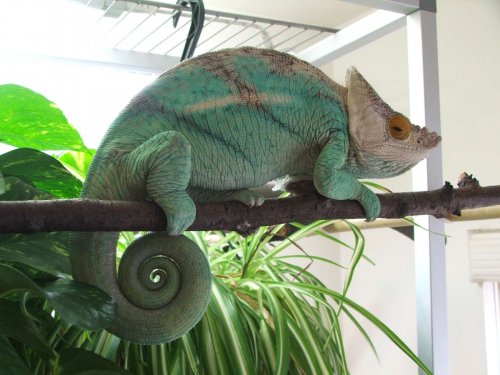
I've built a similar design before with the storage shelves you can get at home depot, but those are really heavy and not tall enough. So far it's working great, and the chameleon living in this enclosure really seems to like the extra height and openess of the design. He spends most of his time out in the open surveying the room and displaying more natural behavior instead of hiding in the foliage. When the landlord comes over you can just remove the chameleon and say it's an indoor greenhouse instead of explaining why you have a 2 pound lizard in your living room


