ispeedonthe405
Established Member
In the middle of building a mansion for my adult panther, I found a little veiled boy I couldn't resist. He's now big enough for a big-boy house of his own. Rather than make him wait in the queue for a custom job, I decided to get one of the Overpriced... err, I mean "Deluxe LED" Repribreeze habitats, and see if I could do something cool with it in a weekend.
The 'Breeze comes with a plastic tray which I suppose is meant for substrate. That's not much use to me as I like a clean bottom. I decided to keep it but transform it into a floor with a grade and a drain.
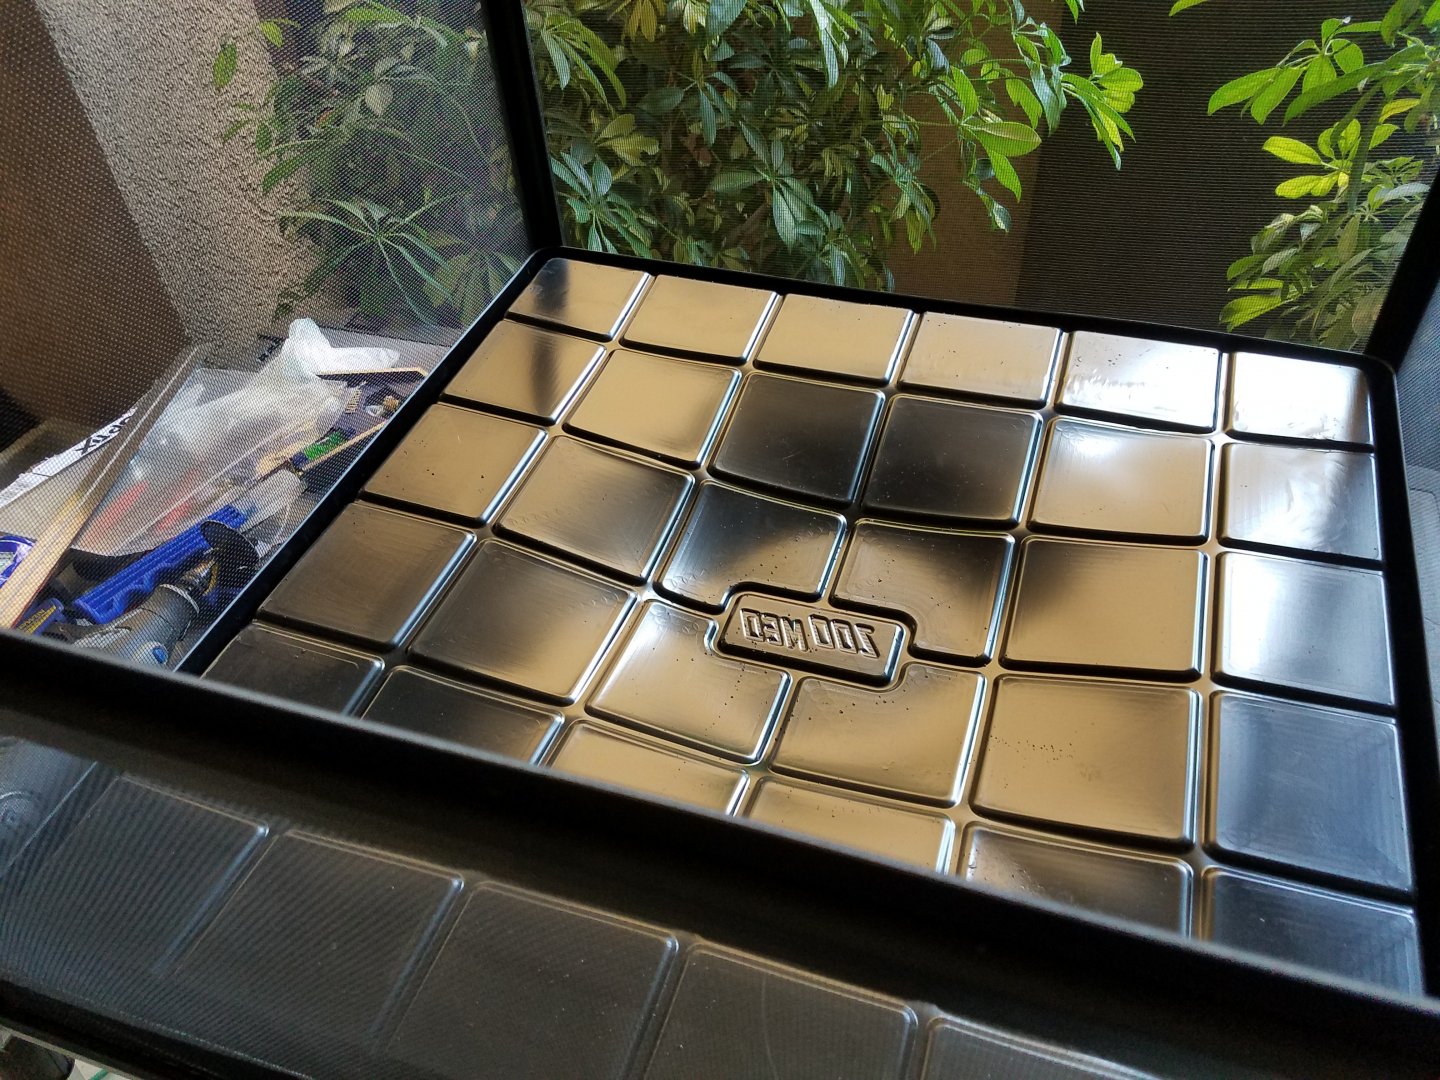
Here's a shot where the forming is finished and the fit is being tested. The drain is not yet installed and the floor is not yet attached to the cage.
I did this by flipping the tray over, putting a dumbbell weight in the center, and using my heat gun to soften the plastic top (which used to be the bottom) until the weight pulled the plastic into this shape.
It was super easy to do. Couple of things though. First, heating up plastics will release fumes that are quite unhealthy; toxic and even deathly. Always do stuff like this in a ventilated area, and preferably with a proper breathing apparatus thingy. Yes your neighbors might become concerned. But I find that if you smile and wave and say Hi a lot, you can get away with all sorts of things. Even welding on your apartment patio.
Forming the plastic in this way is nothing like vacuum forming. Vacuum forming happens very quickly, whereas this is a slow and deliberate process. I was worried about melting the plastic but it took a surprising amount of heat to soften up enough for this to work. I was also worried about breaking the plastic at a temperature gradient, so I was careful to heat to right out to the outer edges of the outermost "squares" as well; however, most of the heat was added in circles around the weight.
After the heat forming was done I cut a small hole in the center and inserted a $2 plastic snap-in drain. The drain at first stuck out just a bit beyond the bottom of the floor piece. I thought about cutting it down but instead I just put some 1/4" weatherstripping on the lower screen frame. The floor sits on that, and the whole cage sits nice and flat with its drain bottom.
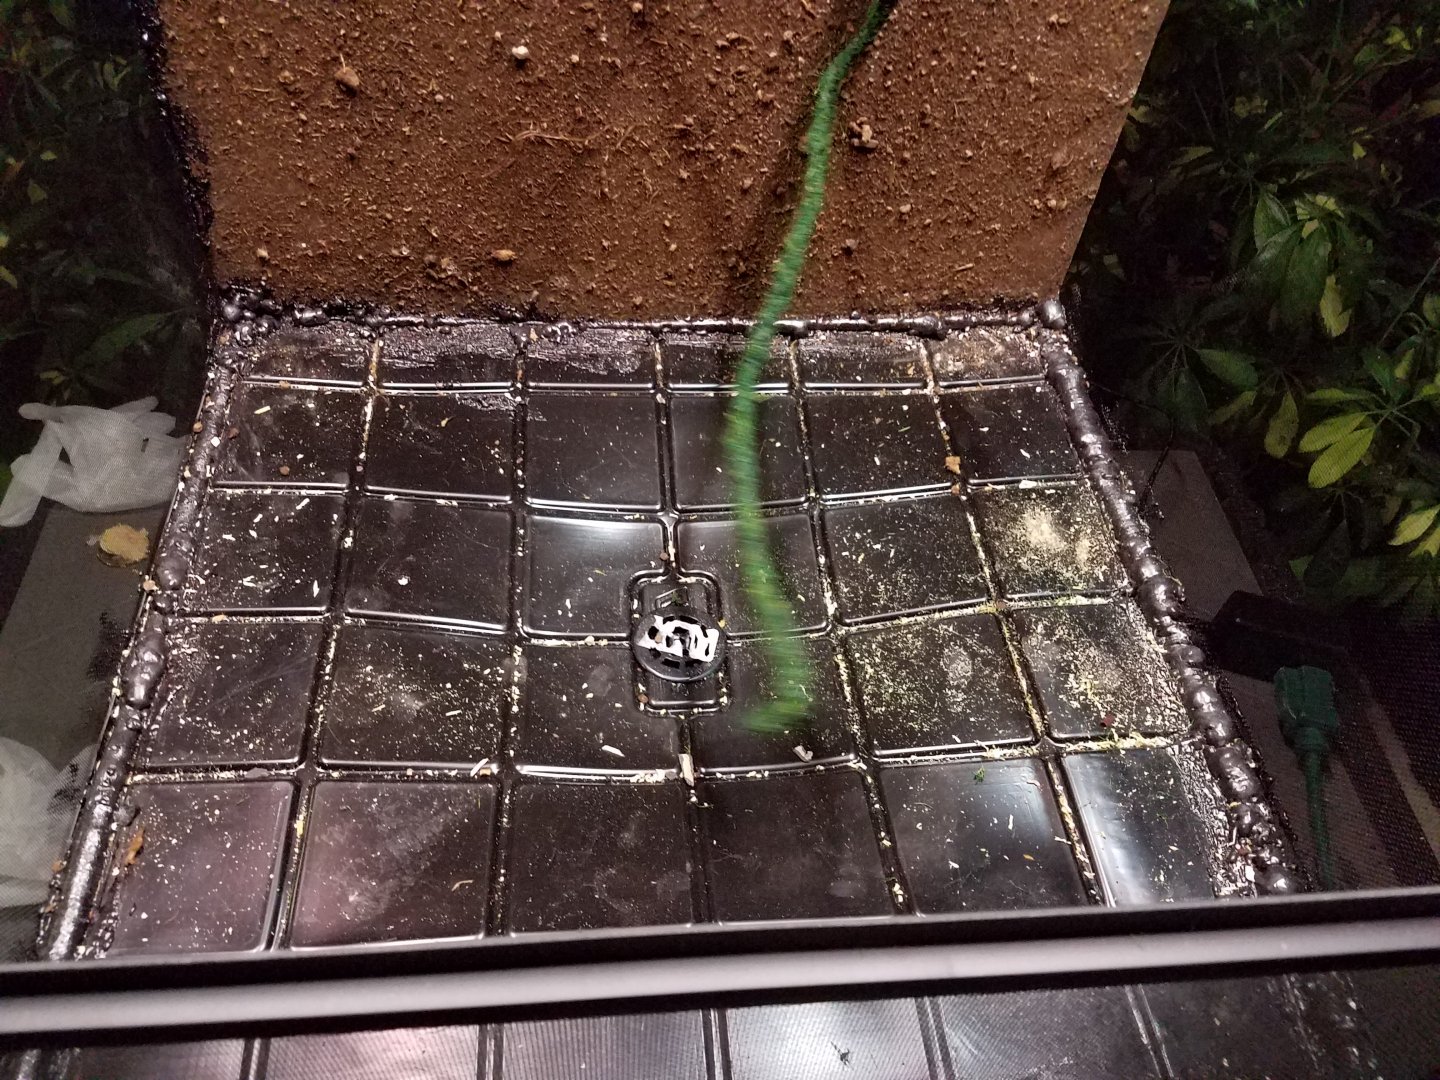
So now the installation. I consider this a permanent feature; this is the bottom of the cage. I didn't put anything in the bottom screen frame; neither screen nor the plastic panel that comes with the cage. The inverted and reshaped tray is just sitting on the lower frame. I sprayed Great Stuff Pond & Stone into the big space that runs all the way around the tray, between the squares and that outer lip. When the foam expanded, it pushed out the plastic enough to seal nice and tight against the screen.
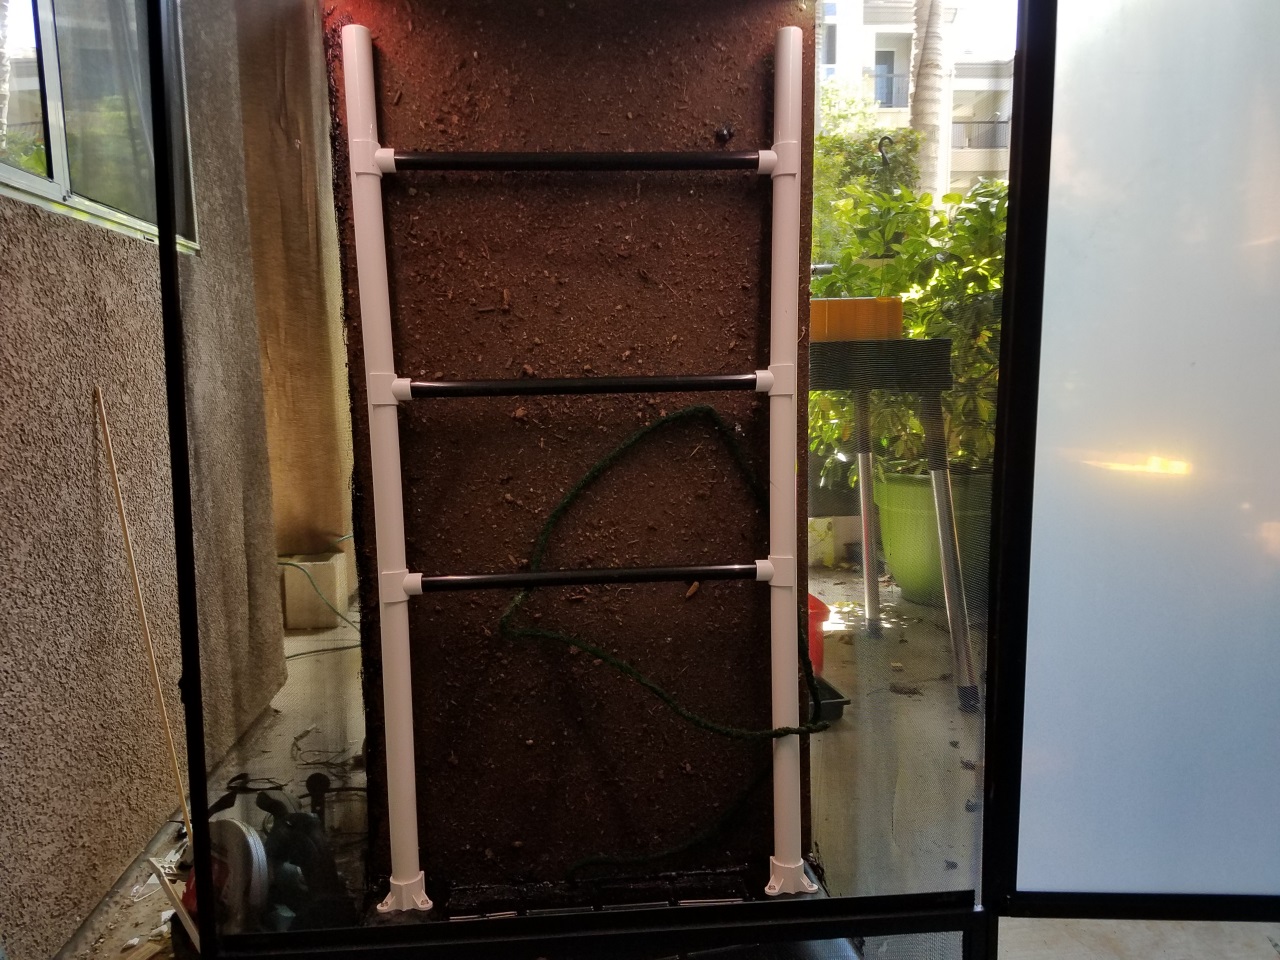
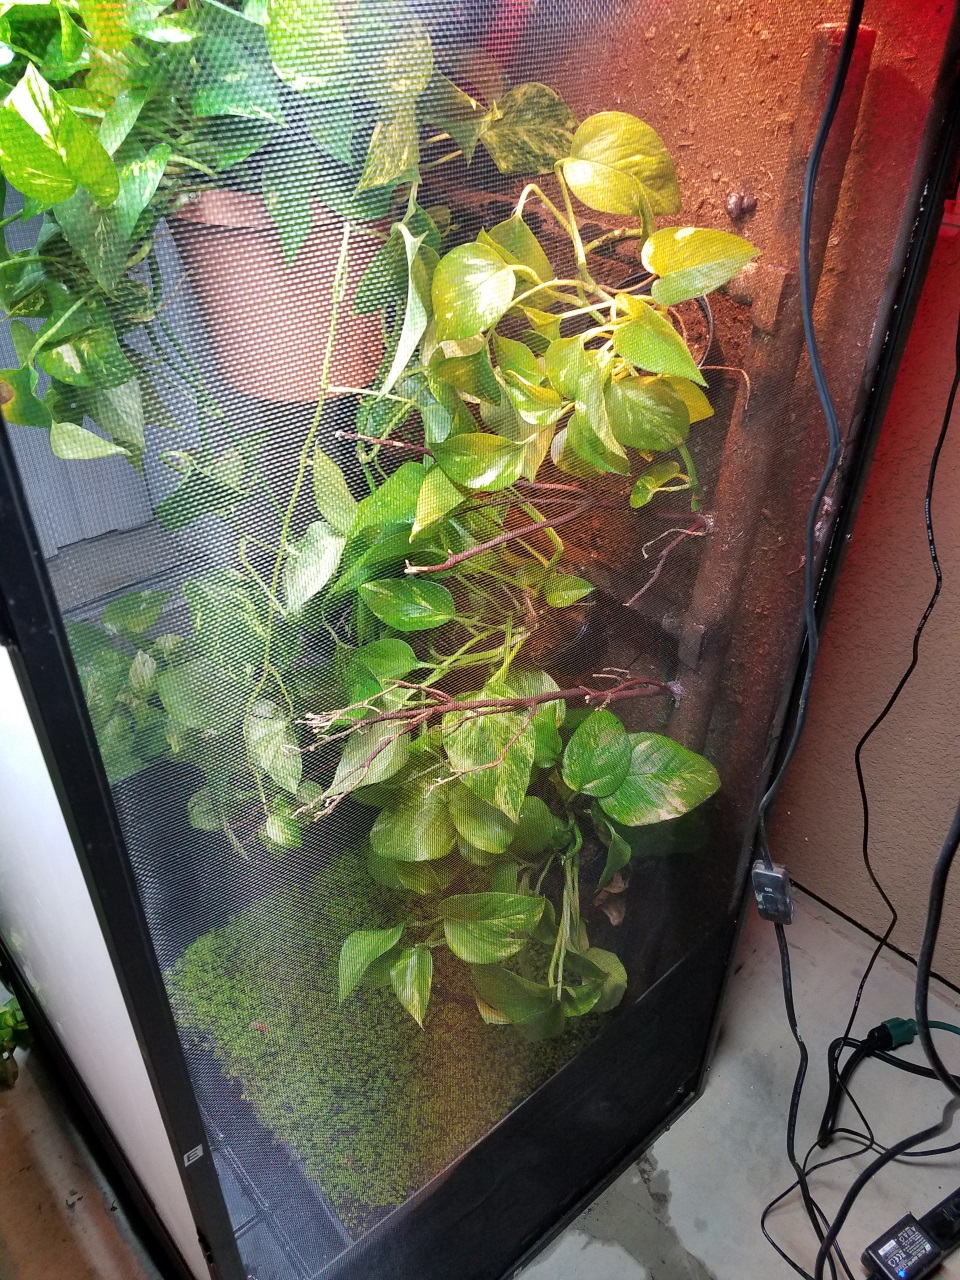
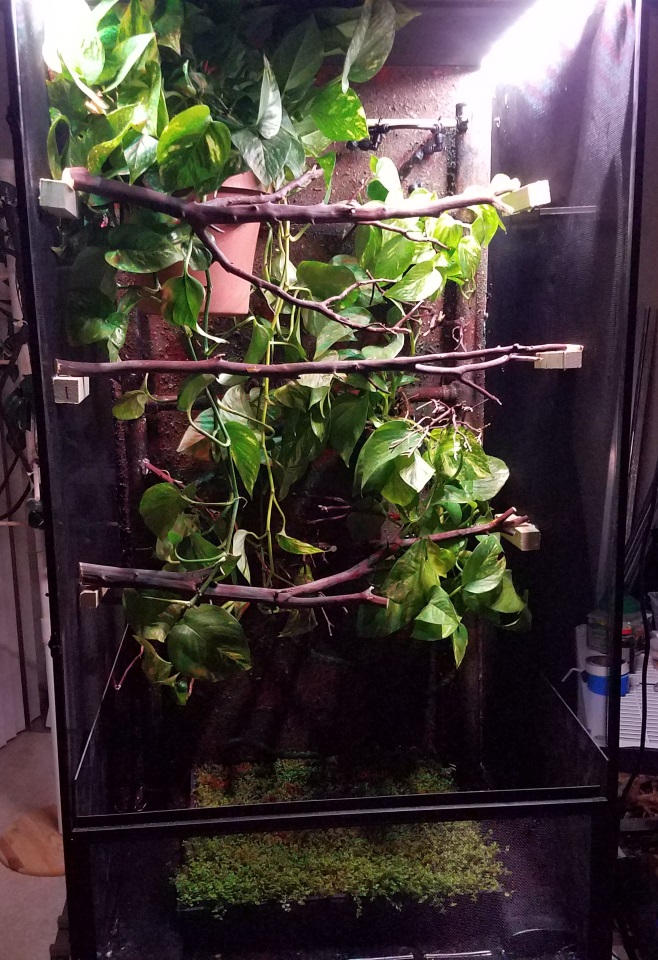
Here it is installed and still badly needing to be cleaned up. From this angle you can see the grade. It should drain right into a 2-gal bucket placed beneath the cage. There's also a sneak peak at the back wall.
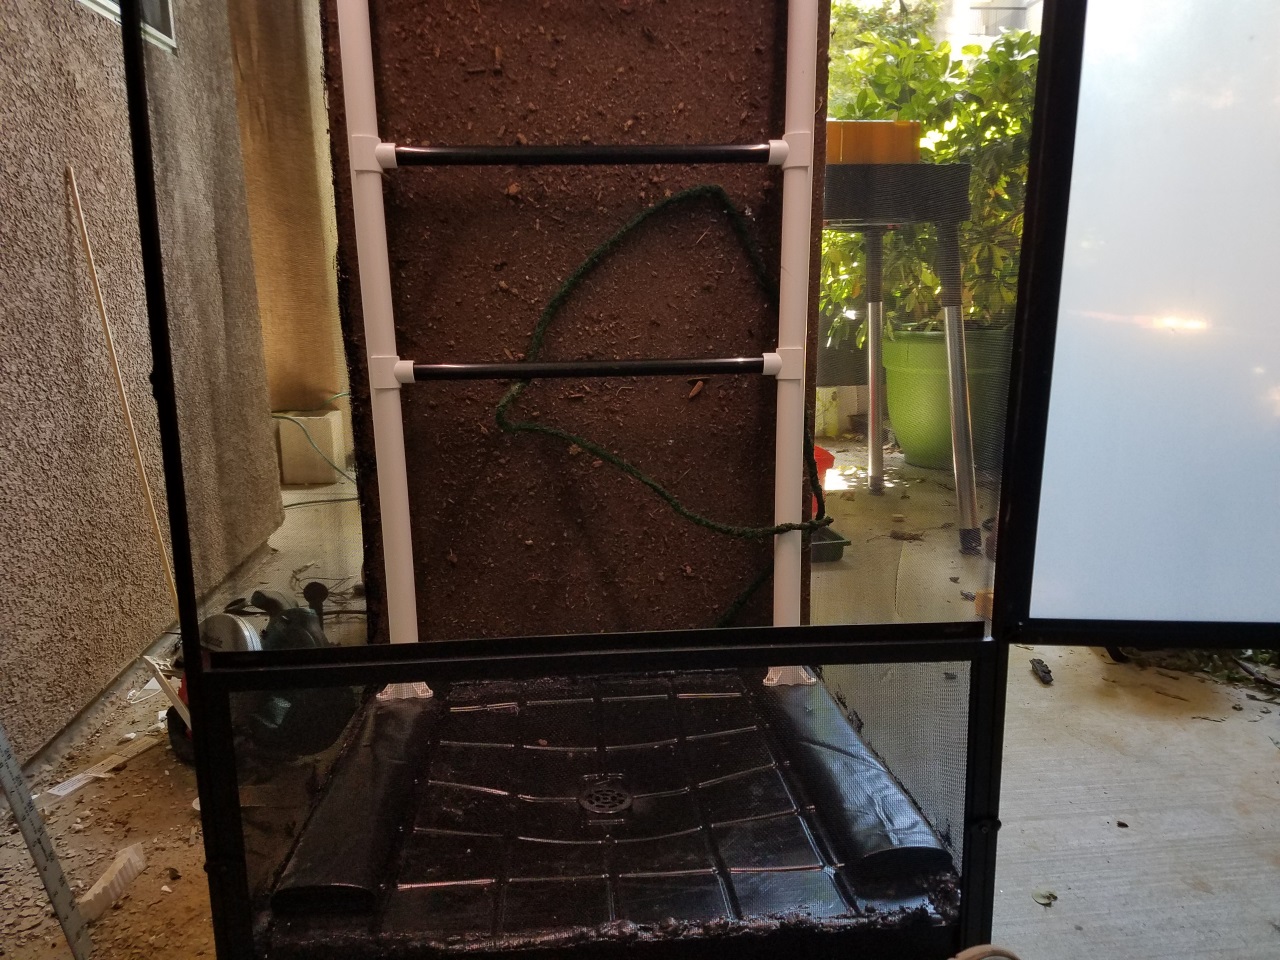
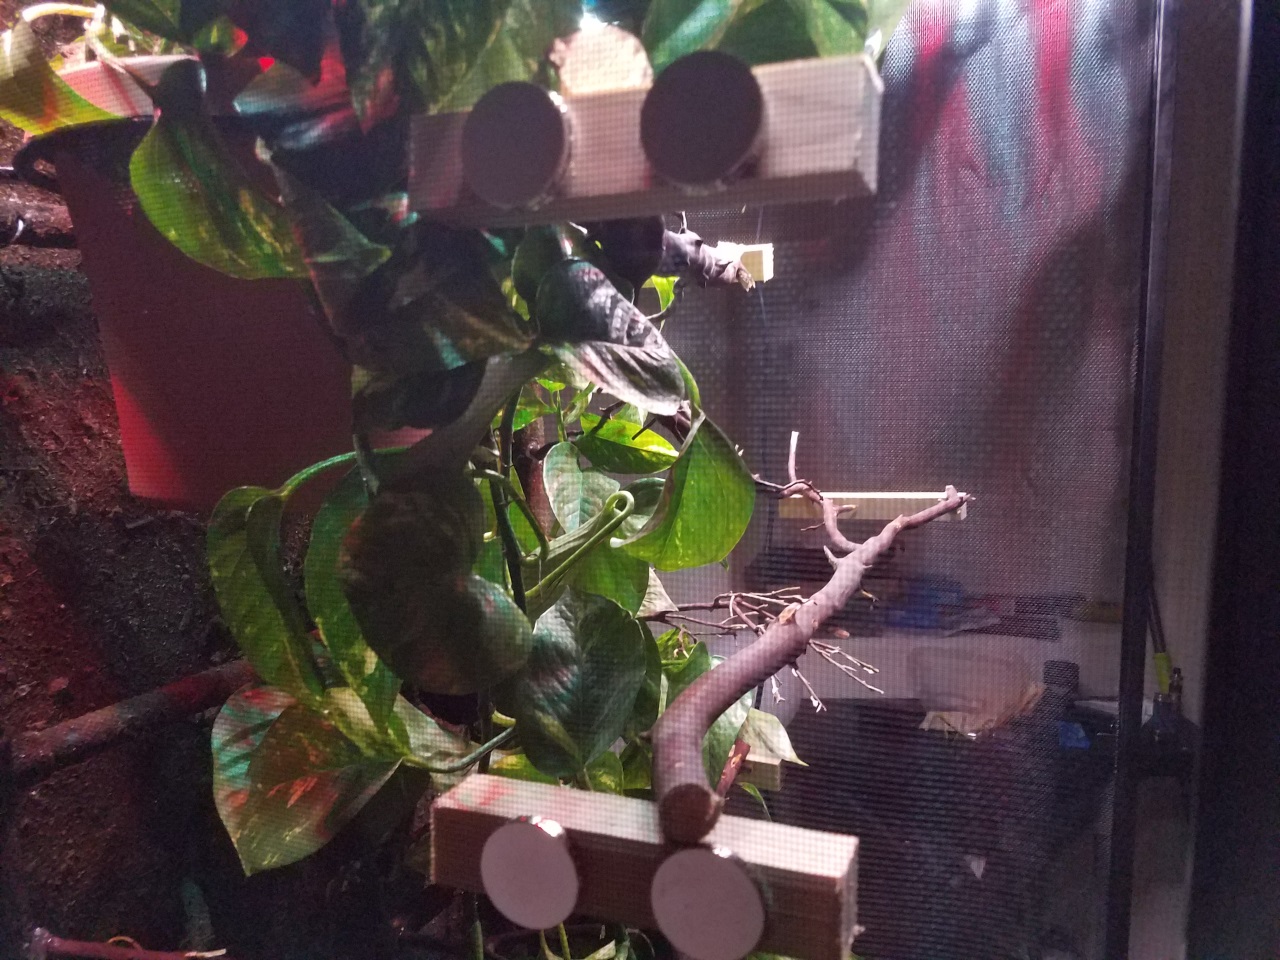
Another shot of the installed and still messy floor, different angle.
The 'Breeze comes with a plastic tray which I suppose is meant for substrate. That's not much use to me as I like a clean bottom. I decided to keep it but transform it into a floor with a grade and a drain.
Here's a shot where the forming is finished and the fit is being tested. The drain is not yet installed and the floor is not yet attached to the cage.
tray01
The bottom tray has been reshaped and reused as a drain floor. The fit is being checked here...
I did this by flipping the tray over, putting a dumbbell weight in the center, and using my heat gun to soften the plastic top (which used to be the bottom) until the weight pulled the plastic into this shape.
It was super easy to do. Couple of things though. First, heating up plastics will release fumes that are quite unhealthy; toxic and even deathly. Always do stuff like this in a ventilated area, and preferably with a proper breathing apparatus thingy. Yes your neighbors might become concerned. But I find that if you smile and wave and say Hi a lot, you can get away with all sorts of things. Even welding on your apartment patio.
Forming the plastic in this way is nothing like vacuum forming. Vacuum forming happens very quickly, whereas this is a slow and deliberate process. I was worried about melting the plastic but it took a surprising amount of heat to soften up enough for this to work. I was also worried about breaking the plastic at a temperature gradient, so I was careful to heat to right out to the outer edges of the outermost "squares" as well; however, most of the heat was added in circles around the weight.
After the heat forming was done I cut a small hole in the center and inserted a $2 plastic snap-in drain. The drain at first stuck out just a bit beyond the bottom of the floor piece. I thought about cutting it down but instead I just put some 1/4" weatherstripping on the lower screen frame. The floor sits on that, and the whole cage sits nice and flat with its drain bottom.
So now the installation. I consider this a permanent feature; this is the bottom of the cage. I didn't put anything in the bottom screen frame; neither screen nor the plastic panel that comes with the cage. The inverted and reshaped tray is just sitting on the lower frame. I sprayed Great Stuff Pond & Stone into the big space that runs all the way around the tray, between the squares and that outer lip. When the foam expanded, it pushed out the plastic enough to seal nice and tight against the screen.
Here it is installed and still badly needing to be cleaned up. From this angle you can see the grade. It should drain right into a 2-gal bucket placed beneath the cage. There's also a sneak peak at the back wall.
tray02
Installed. From this angle you can see the slope better. The foam needs to be cleaned up.
Another shot of the installed and still messy floor, different angle.
Last edited:

