Harry938
Member
As I have said before I was going to build a Viv for my veiled, but found an amazing deal on a pro Viv vivarium and it just made sense to get that instead.
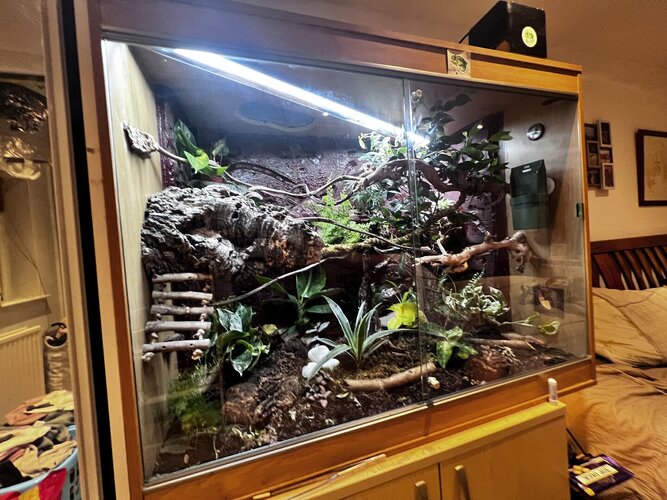
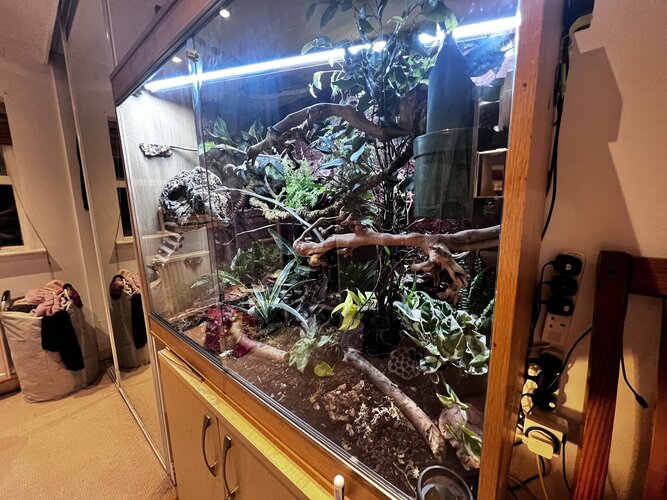
It’s the pro Viv large deep (115x61x91.5cm), now it is a wooden Viv but that has always been the plan to get the night time humidity and to regulate the day humidity much easier. It’s is going to be fully sealed with resin so essentially a plastic box in a wooden box.
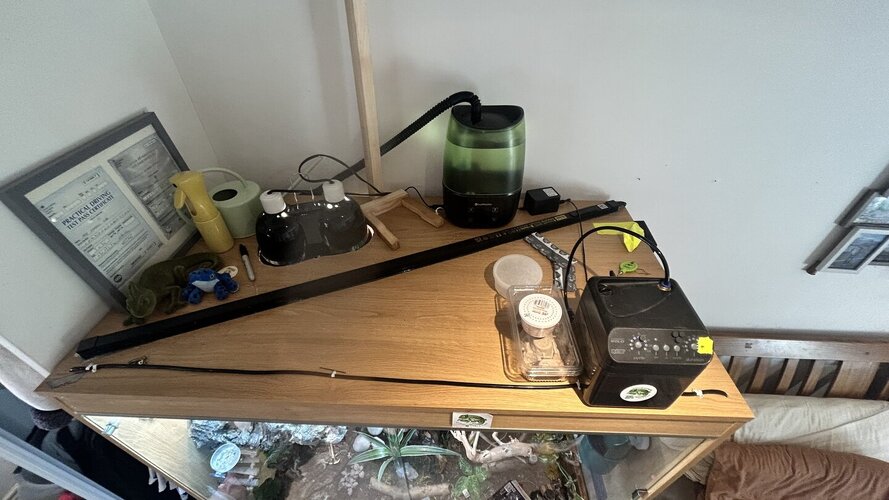
It’s not perfect and needs work like extra vents and fan holes drilling for the air flow, but taking my time and slowly putting it together. My old wood Viv setup worked perfectly at quickly reducing humidity for the day and getting up there for night time. I’ve included some photos of so far and will carry on updating, please feel free to comment but this is a diary for me aswell .
.
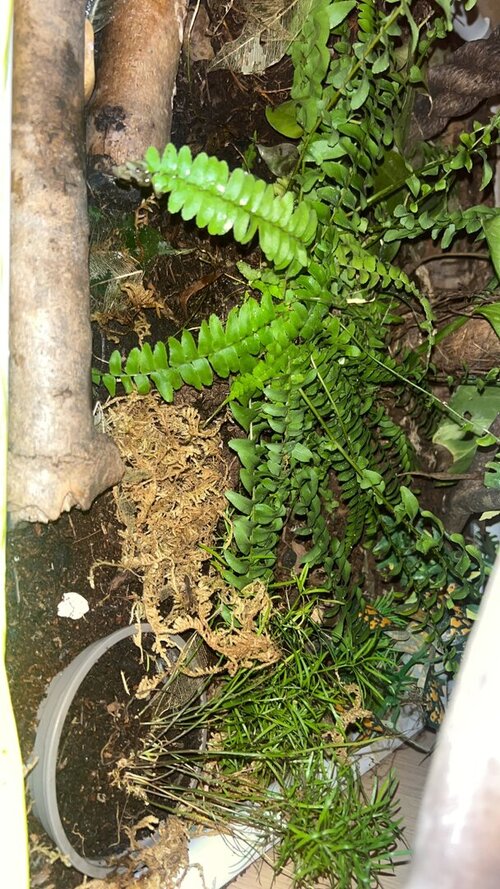
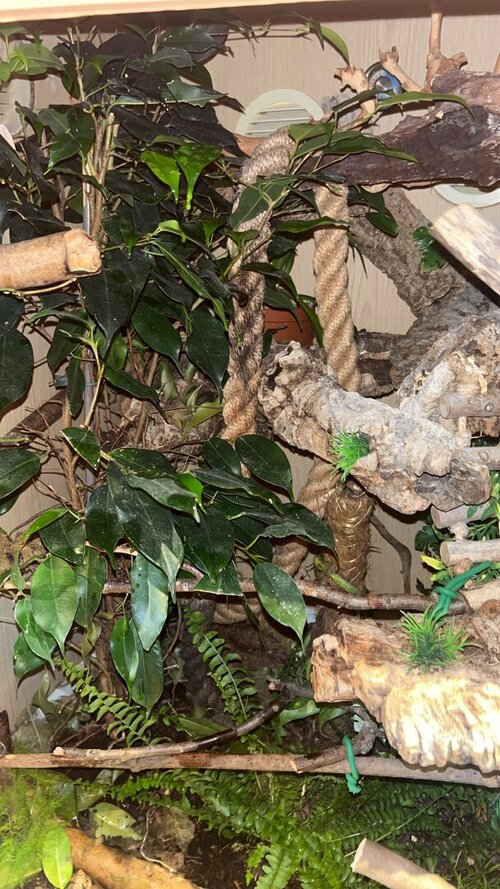
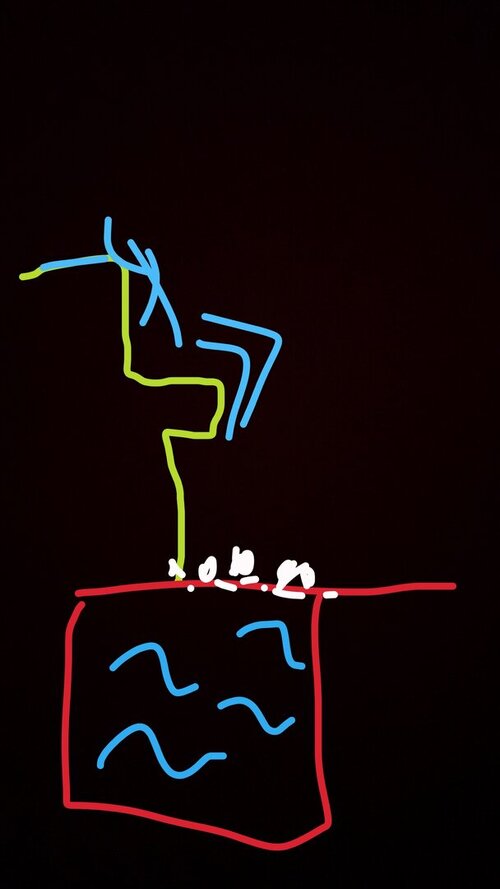
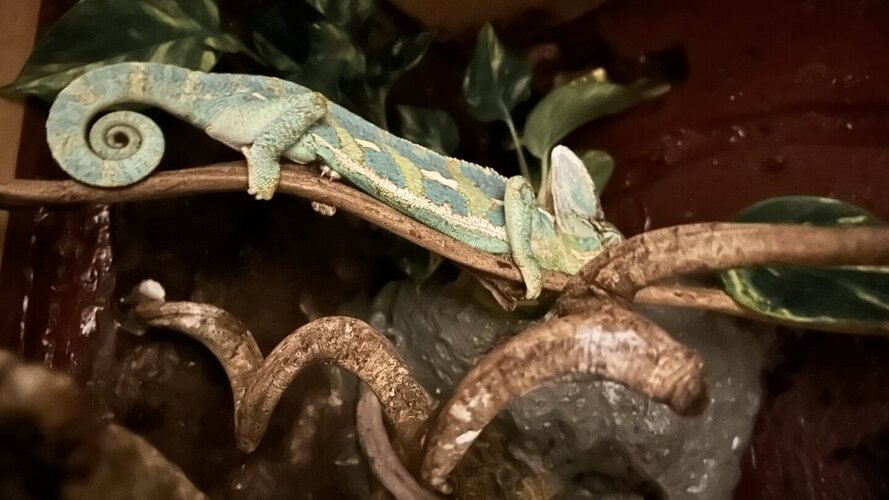
Bottom left is going to be a waterfall, all sealed and easy cleanable, few pots up high for vines and climbers and the bottom is going to be covered with plants and soil from existing Viv to help establish bio activity quicker, he’ll live a day or so in a semi bear Viv but I have a few big trees in the house I can Chuck in for cover for him for the time being I think he’ll be okay.
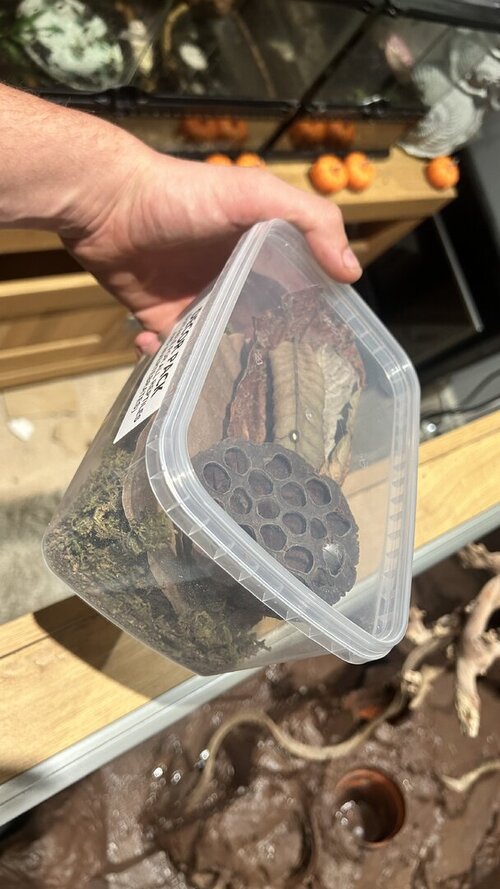
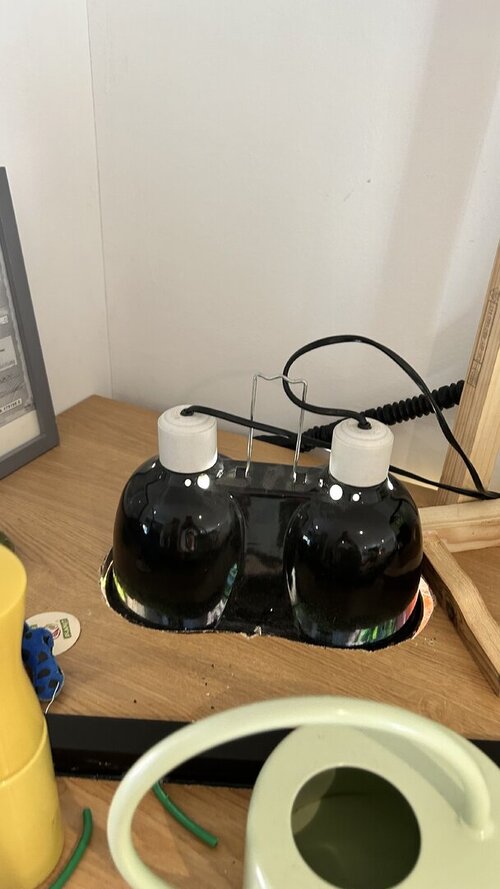
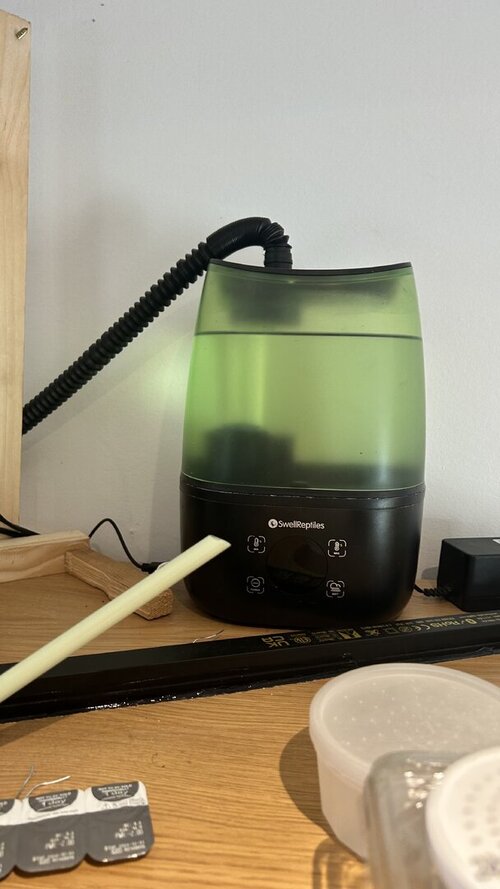
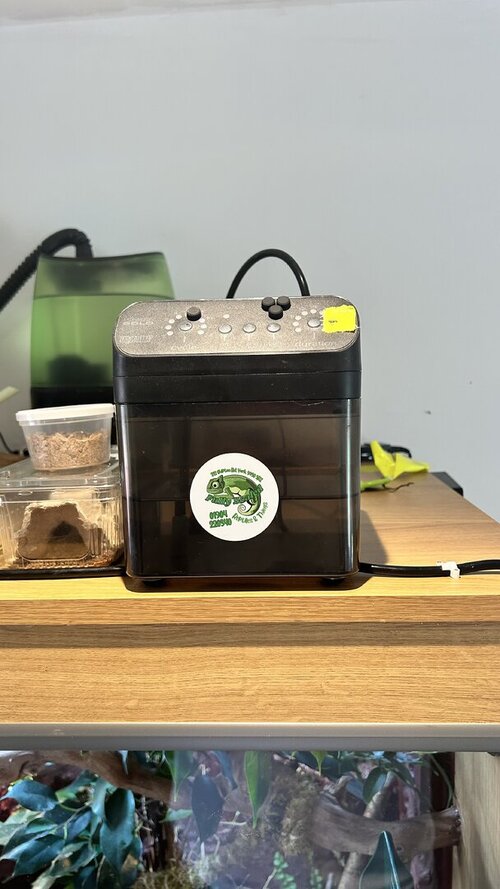
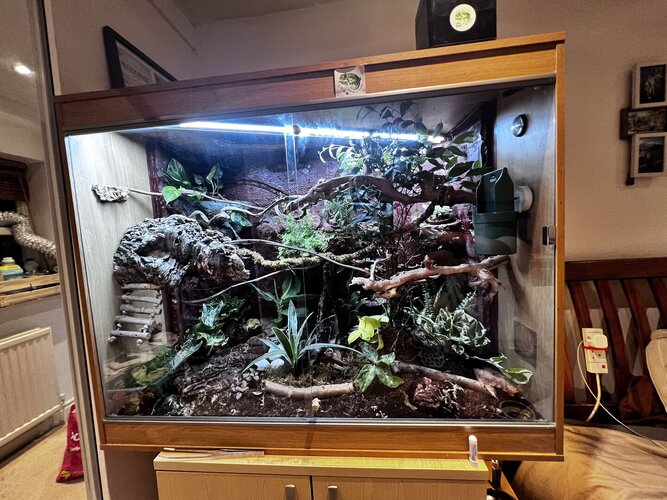
Existing:

How it started, fully siliconed sealed and drying:
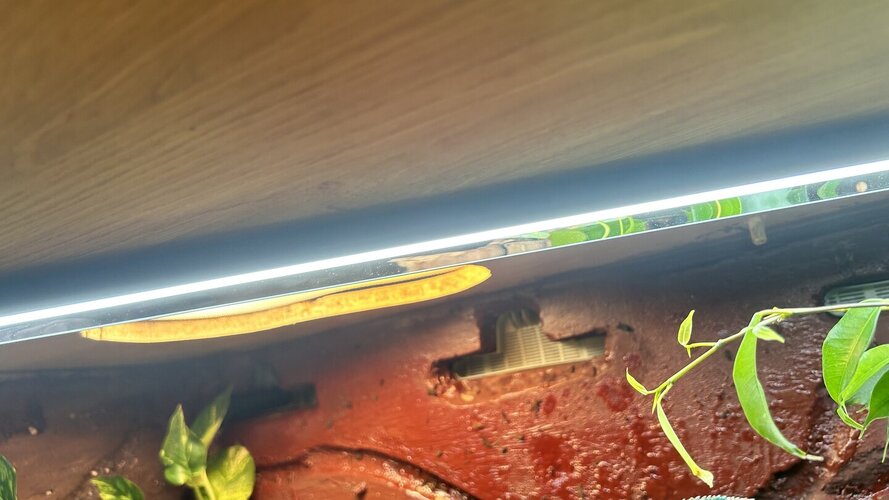
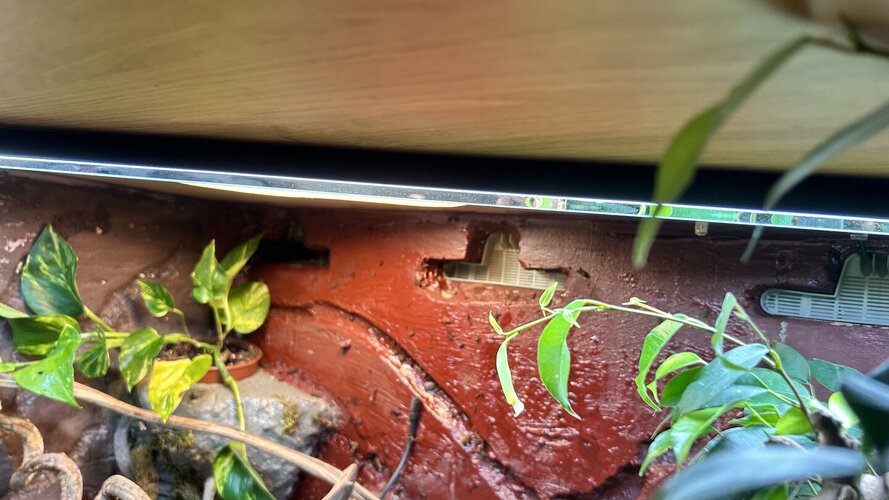
Rear foam on

Start of background, expanding foam and polystyrene, will be coated several times with PRresin:

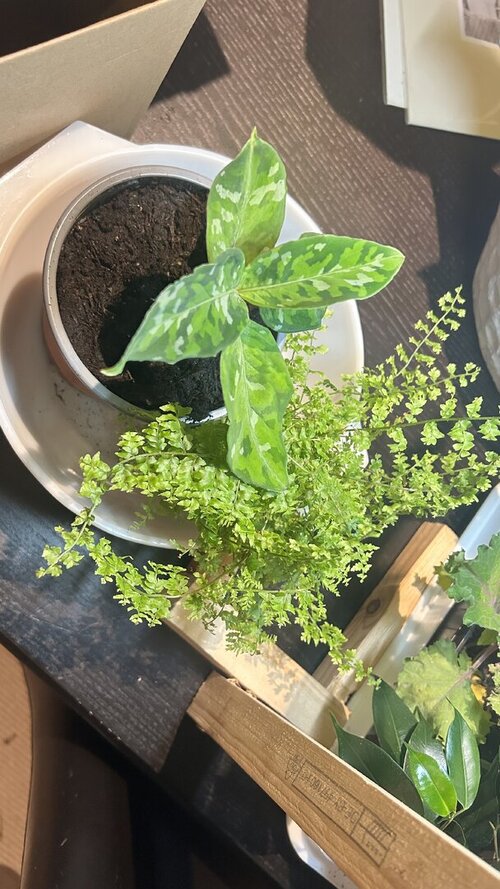
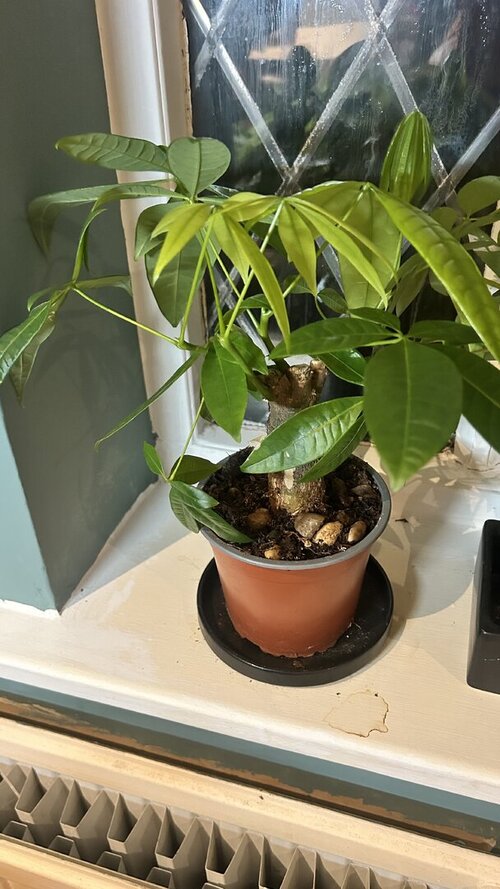
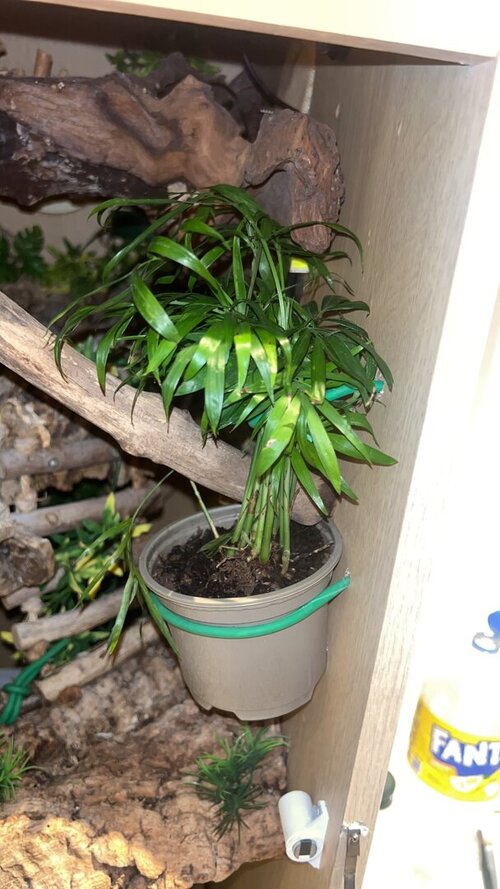
Dry fit of a few plants:
It’s the pro Viv large deep (115x61x91.5cm), now it is a wooden Viv but that has always been the plan to get the night time humidity and to regulate the day humidity much easier. It’s is going to be fully sealed with resin so essentially a plastic box in a wooden box.
It’s not perfect and needs work like extra vents and fan holes drilling for the air flow, but taking my time and slowly putting it together. My old wood Viv setup worked perfectly at quickly reducing humidity for the day and getting up there for night time. I’ve included some photos of so far and will carry on updating, please feel free to comment but this is a diary for me aswell
.Bottom left is going to be a waterfall, all sealed and easy cleanable, few pots up high for vines and climbers and the bottom is going to be covered with plants and soil from existing Viv to help establish bio activity quicker, he’ll live a day or so in a semi bear Viv but I have a few big trees in the house I can Chuck in for cover for him for the time being I think he’ll be okay.
Existing:
How it started, fully siliconed sealed and drying:
Rear foam on
Start of background, expanding foam and polystyrene, will be coated several times with PRresin:
Dry fit of a few plants:
 .
.