DocZ
Chameleon Enthusiast
This is a fantastic idea. I will definitely be redesigning my mist king nozzles based on this. Thank you!It was a 3 hour excursion to 3 different stores today to get stuff for the fogger "curtain" I am going to make and the gravity drain. Spent the last 2 hours working on the gravity drain, attaching my heat light bracket with fixture, and installing my mistking nozzles and lines.
I have learned a lot since the first cage and I am really wanting it to all look clean and done right. Not wanting the rattling mistking line this time around either.
So here is the gravity drain. Which by the way was the most stressful thing I have done. I was sure I was going to drill into the wrong place in the pan and end up with a disaster.
View attachment 270025 View attachment 270026
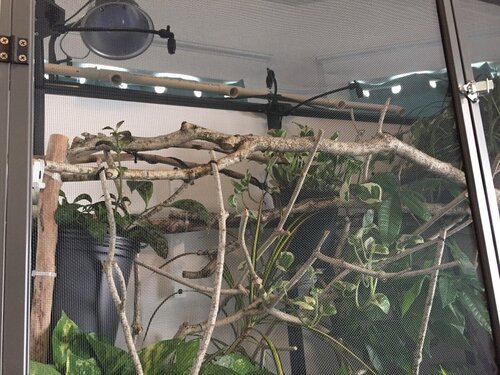
Here is how I have set up my heat lamp. Able to angle it and lift off the screen. Bought this Exo Terra Lamp Holder to attach to the cage with screws.
View attachment 270027 View attachment 270028
And here is what it looks like from above. I am doing my misting nozzles very differently from the way we normally do them. Talked to someone at mistking about how I wanted it and they gave me the fix for it. I have taken apart the nozzle and run a 7 inch space of mistking tube between the two L's of the nozzle. Then use a tiny zip tie to hook the nozzle portion that is extended attaching it to the top screen.
This gives me the ability to not spray my top panel or lights and not waste water spraying the walls. This will give me a full 360 degree spraying down toward the plants. I have tested this on Beman's current enclosure the last few weeks and it works perfectly.
View attachment 270029


