After months of research, planning..

tzap13

New Member
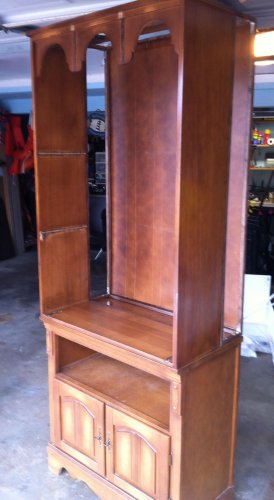
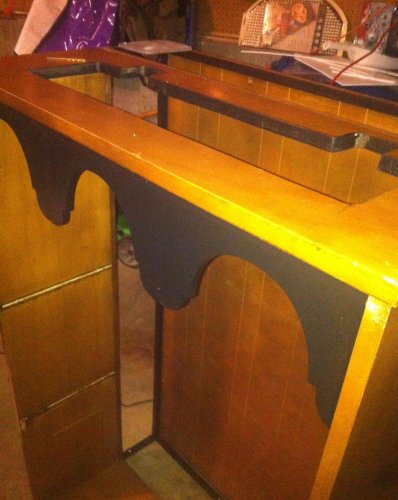
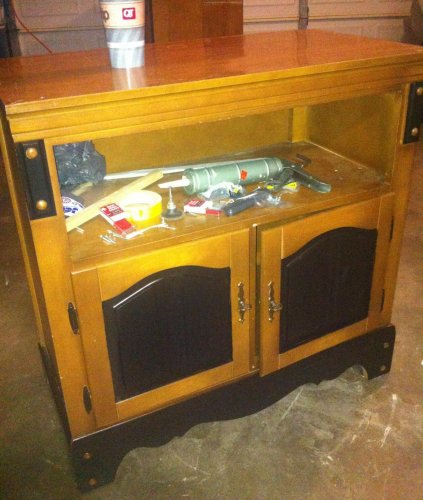
So Project Chameleon Mansion was started today!

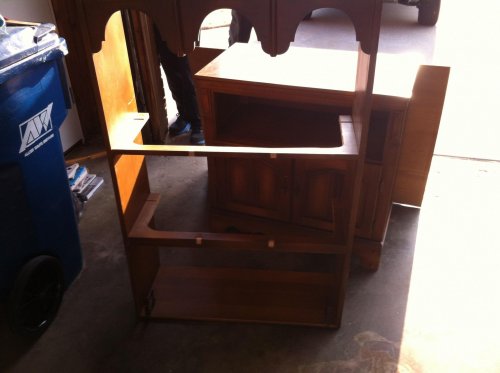
Son, my aunt and I set out to start on the mansion and wow fatty is tired!

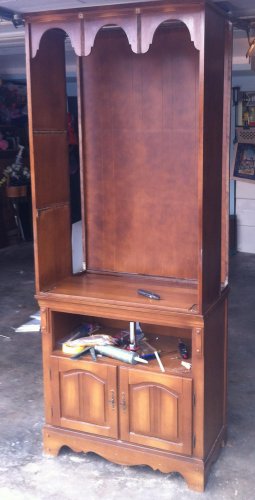
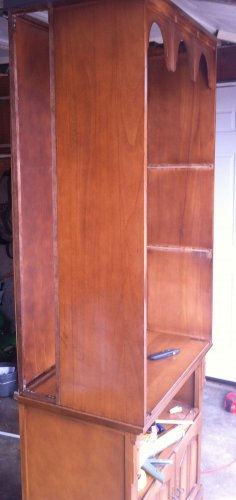
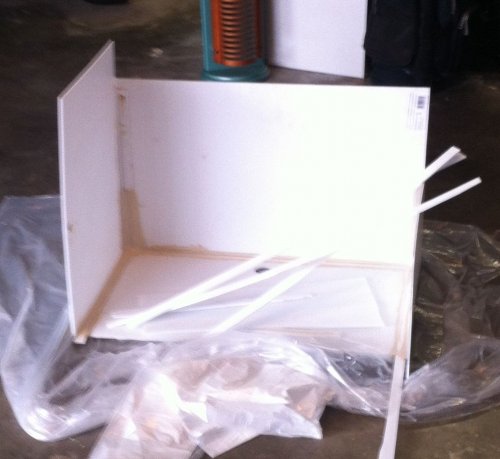
Here are some pics, just starting out we got a lot done today but far from finished.

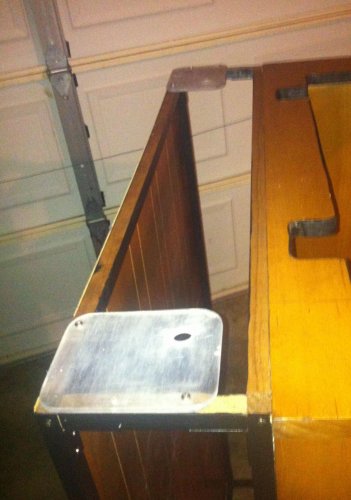
There is an area in the back that has a wooden frame that will extend the hutch top to the back of the lower cabinet. All the back will be aluminum screen, the top and front as well aluminum screen.

The top was cut out for a quad 4 T5 HO light hood. I have a repti fogger in the mail that I will be setting up with the help of a pvc pipe to create a "fog curtain".
I also have a mist king system on its way. I am planning to fill the tank with live plants and bamboo sticks. My son wants to make a styrofoam grout covered bridge for the top front where I plan to angle mount a basking light.

We had some great dad - son bonding and my aunt Jan was awesome, she has quite a lot of tools and helpful things handy (like iced tea!!). Would have been a nightmare without her help and her garage.

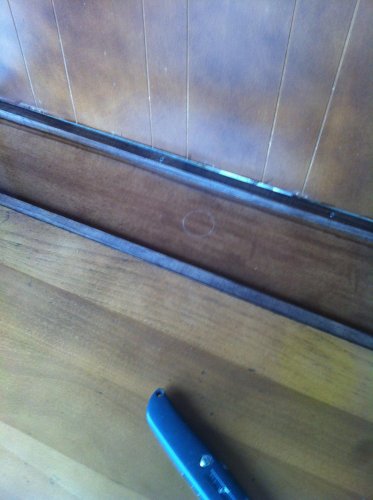
Still have to smooth sand the shelves I cut out and the light cutout, then stain and waterproof it, finish the drain which will be drained into a bucket in the middle of the cabinet, i have a sweet bathtub type flush drain I am putting in it.


Oh, did I mention, I do not own the chameleon yet?

Somewhere, there is a chameleon who doesnt know it, but he is going to be spoiled f'ing rotten 8)))

If you are going to have pets, you absolutely have to spoil them 8)
 
more pics

son took these pics with my iphone lol, aunt Jan (orange shirt) and I were discussing what to do for lunch I think haha
 

Attachments

  • 7.jpg
    7.jpg
    253.8 KB · Views: 162
Truly will be a mansion! I look forward to seeing more pics as you progress; I'm learning from you!

Sandy
 
thanks!

Truly will be a mansion! I look forward to seeing more pics as you progress; I'm learning from you!

Sandy

Thanks! Funny you say learning from me I feel like I am in my infancy with Chameleons ;)
I really had fun today, Friday at work one of my friends was having a good time laughing at me because I was so excited to get started.

Tomorrow were heading back to stain and waterproof it and work on the drain. I will be sure to keep posting pics 8)

Were hoping to let it sit and cure till Friday and then finish assembly. (I'm taking a vacation day friday to avoid the torture)
 
me too!

look forward to seeing it finished :)

Me too! Unfortunately the Missouri weather is not cooperating so were not doing anything today =\

We may go for a drive to see if the lowes or home depot have any decent plants to bring home. Also need to get some bins for my soon to be dubia colony.

I will post some more pics as they come in 8))
 
It's gonna be a cool build. Interested to see what your drainage system will be like. Personally, I would have knocked out the shelves completely and just braced the back with a couple of 2x4's or something. I'd worry about water collecting on the shelves or something. I'm also interested to see how you're going to finish the wood.
 
so what type of chameleon are you thinking giving this mansion to??:)

panther from epic 8)

as for the shelves collecting water, I had not thought of that. I will have to give that some thought. I loved jdawg's setup how he has basically a dry side and a wet side, I intended the back screened section to be more watered, and the front section to be drier, from the lights more concentrated up front and the basking light etc.

I will have to think that over. It's not a big deal to remove the shelf sections, in fact that would eliminate a lot of the rest of the wood finishing I need to do. ( one shelf still needs a bit of smoothing )

The drain system I have 2 sheets of corrugated fiberboard and a bathtub type drain / tube with a bucket below planned. I plan to make a custom fit removable floor that will be bare and sloped in slightly to funnel the moisture into the drain.

I appreciate the tips and thanks for the comments! 8)
 
Lizard Diaries 2 more pics!

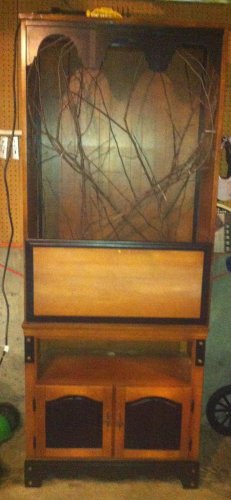
More pics! Got the back section installed, removed the shelves, cut holes in the top for the moon lights.
Secured the hutch top to the base, 2 coats of stain. It's finally coming together.
I worked on the custom fit drain system, just need to punch the hole in the cabinet bottom, then mount the flush drain tube and seal it in the custom drain tub. Need to put the front of the drain tub on but I wanted to let the liquid nails cure before I trimmed it down to size. I have 3 tubes of 100% silicone I am going to run some nice bead seals in the drain tub with then were going to use some rhino liner then clear acrylic. You cant see it but the drain tub has strips on the bottom to provide a slope for water to drain to the flush drain in the back.
Aunt Jan is going to trim some black accents on it this week and then I will go back and water seal it this week, hopefully hang the screen this weekend and complete it.
Then its a good 2 weeks of airing out.

I toyed with the idea of brush coating a thin layer of silicone on the side walls and sticking some coconut bark to it, but I am not sure if that would be a huge pain in the butt with humidity either making it too much or becoming a mold trap.

I am not 100% on the back wall over my original intention of screen but my son suggested it to keep the mist king and fogger from moisturizing the wall behind the enclosure 8P
 

Attachments

  • LD2 1.jpg
    LD2 1.jpg
    239.6 KB · Views: 99
  • LD2 2.jpg
    LD2 2.jpg
    253.6 KB · Views: 152
  • LD2 3.jpg
    LD2 3.jpg
    250.8 KB · Views: 106
  • LD2 4.jpg
    LD2 4.jpg
    247.4 KB · Views: 99
  • LD2 5.jpg
    LD2 5.jpg
    114.6 KB · Views: 165
scared

so reading the forums I have seen lots of stories about chameleons, especially young ones, falling.
With this is mind, I am thinking to put some nets (similar to the triangle shaped hammocks) in the cage at various heights and suction cup or screw them in.

I bought some garden soil weed block, it is pretty soft and seems like it would make good safety nets.

Once I find out the little guys habits ( Still havent bought the cham yet hehe) I can put them in strategic locations so as to avoid a painful, or heaven forbid, deadly, accident.

Anyone else done anything like this before and have ideas?
 
Soooo close!

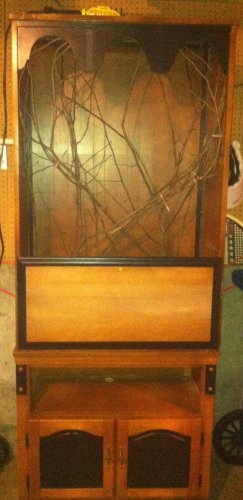
I am about 2 days from complete on the enclosure I have been working on. I forgot to take pics of the drain but its assembled.completed, hole cut for drain. Only need to come up with tanks I can use that will fit in the bottom for waste drainage and one for clean misting water.
Screen is on, silicone is down, its waterproofed and clear acrylic over it all.
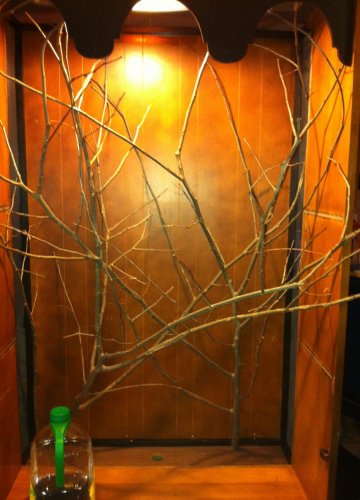
I have some branches in it for now, will be adding foliage once it gets to my house (it's at my aunts in her garage atm).
I have exo vines, 18 6' bamboo stalks, rope, bendable gardening wire thats plastic coated. I have so much stuff for the inside of the enclosure, just had to wait for the plants to be more available. Stupid blizzard we are expecting kinda put the brakes on finishing it this weekend.
 

Attachments

  • af10.jpg
    af10.jpg
    254.1 KB · Views: 102
  • af2.jpg
    af2.jpg
    249.8 KB · Views: 106
  • af3.jpg
    af3.jpg
    249.9 KB · Views: 94
  • af4.jpg
    af4.jpg
    250 KB · Views: 87
  • af7.jpg
    af7.jpg
    249.9 KB · Views: 89
ok

thats not the light I am using hehe just had it on there to give me some light. I have a quad bulb T5 HO with 2 5% UVB bulbs and 2 plant bulbs in it as well as it has 2 blue LEDs for simulating dusk and dawn
 
Back
Top Bottom